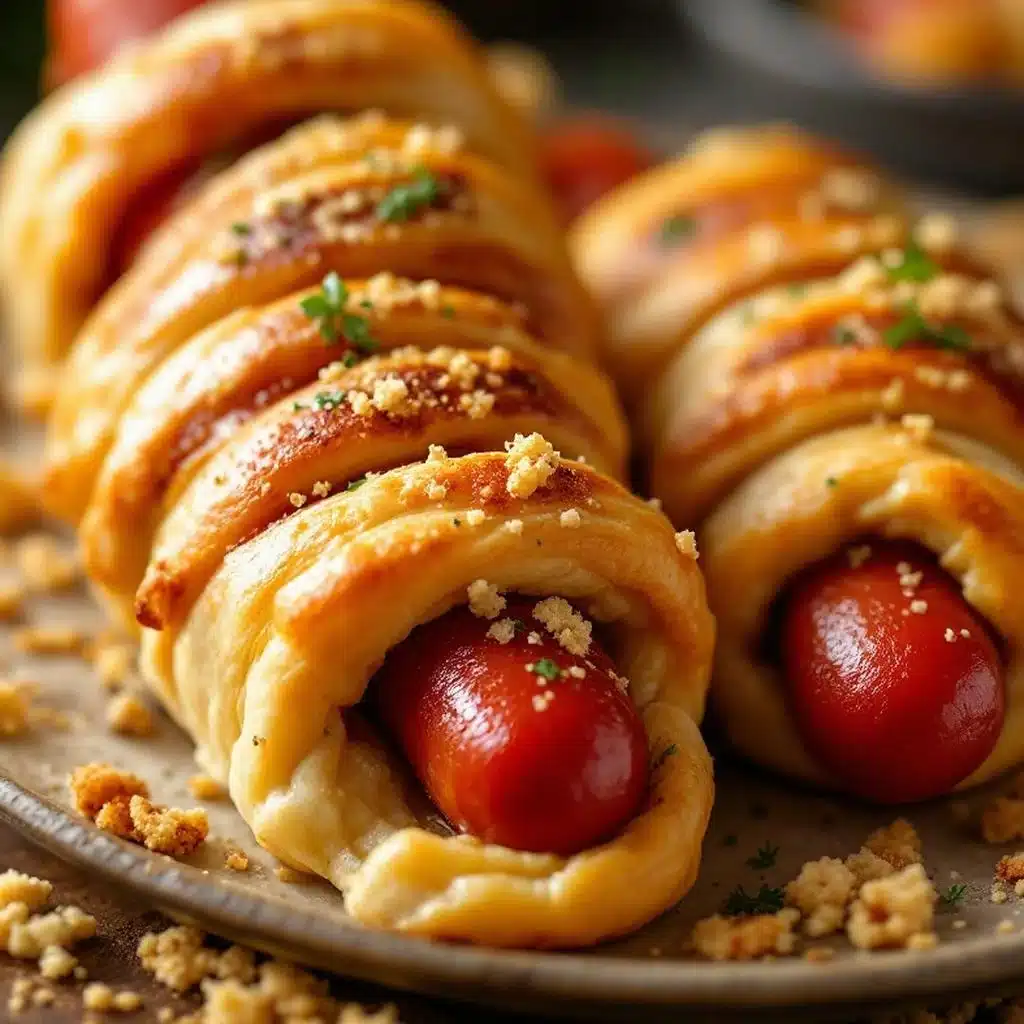
The little band of crescent dough wrapped around each hot dog, that’s the whole point. I’m talking about the way those dough strips overlap just so, leaving two tiny peepholes for eyes that stare back at you from the baking sheet. Everything else about Halloween cooking is secondary to that visual payoff — the moment you pull a tray of these mummy hot dogs from the oven and they actually look like tiny, edible creatures.
I didn’t grow up making these. Honestly, I stumbled onto the idea a few years back when I was scrambling for a Halloween party snack that didn’t require a candy thermometer or a trip to a specialty store. I had a pack of hot dogs in the fridge and a tube of crescent rolls that was about to expire. That night, I learned something important: the best holiday recipes aren’t always the ones you plan. Sometimes they’re the ones you throw together in a panic because you forgot to buy the fancy stuff.
These mummy hot dogs have become my go-to for Halloween parties, movie nights, and even just a silly Tuesday dinner in October. They’re not complicated. They’re not gourmet. But they make people smile — and honestly, that’s the whole reason I keep making them.
Why You’ll Love This Recipe
Let me tell you why these little guys have earned a permanent spot in my Halloween rotation. After testing this recipe about seven times (my kids were very patient taste-testers), I’ve figured out exactly what makes them work.
- Incredibly Easy: You’re looking at about 15 minutes of prep time. No complicated techniques, no fancy equipment. If you can roll dough and wrap it around a hot dog, you’ve got this handled.
- Kid-Friendly Fun: My niece helped me make these last year, and she didn’t stop giggling the whole time. Kids love assembling the faces. It’s basically edible arts and crafts.
- Perfect for Parties: These disappear fast at any Halloween gathering. I’ve brought them to potlucks and watched adults grab three at a time. Nobody can resist a mummy with mustard eyes.
- Simple Ingredients: Crescent dough, hot dogs, and a little mustard for the eyes. That’s it. You probably have everything in your kitchen right now.
- Customizable: Want them spicier? Use jalapeño hot dogs. Need them fancier? Brush with garlic butter before baking. The base recipe is a blank canvas.
What makes this recipe different from every other version you’ll find online? It’s the little details I’ve picked up from making these dozens of times. I’ll show you exactly how to cut the dough so the strips don’t break, how to space the eyes so they actually look like faces, and how to get that perfect golden-brown finish without burning the ends. These aren’t just instructions — they’re hard-won lessons from a kitchen that has seen its fair share of wonky mummies.
What Ingredients You Will Need
This recipe uses simple, pantry-friendly ingredients to create something that feels way more special than it actually is. Here’s what you’ll need:
- Hot dogs (8 standard-sized hot dogs): I prefer all-beef hot dogs for better flavor and texture. Oscar Mayer or Hebrew National work great. You can also use turkey or chicken hot dogs if you’re watching your intake.
- Refrigerated crescent roll dough (1 can, 8-count): Pillsbury is the classic choice here. The dough is soft and easy to work with. Make sure it’s cold when you start — warm dough gets sticky and hard to cut.
- Mustard (for the eyes): Yellow mustard works best because it’s bright and visible. You can also use ketchup, sriracha, or even small dots of cream cheese for a milder look.
- Optional — Everything bagel seasoning: A light sprinkle adds texture and a savory boost. I tried this on a whim and now I can’t go back.
- Optional — Garlic butter: Melt 2 tablespoons of butter with 1/2 teaspoon of garlic powder and brush it over the mummies before baking. It gives them a gorgeous golden sheen and extra flavor.
Ingredient Selection Tips: Look for hot dogs that are uniform in size — some brands have shorter or fatter sausages, which changes how the dough wraps. If you’re using jumbo hot dogs, you’ll need to cut the dough strips a little wider. For the crescent dough, check the expiration date on the can. Older dough can be harder to separate and more prone to tearing.
Substitution Guidance: Need a gluten-free option? Use gluten-free crescent dough (I’ve had good luck with the brand from Whole Foods). For a lower-carb version, try using cheese slices cut into strips — they won’t be as sturdy, but they work in a pinch. You can also swap the hot dogs for smoked sausages or even cooked chicken sausages for a different flavor profile.
Equipment Needed
You don’t need much for this recipe, which is part of its charm. Here’s what I use:
- Baking sheet (rimmed): A standard 13×18-inch sheet works perfectly. Line it with parchment paper for easy cleanup.
- Sharp knife or pizza cutter: A pizza cutter makes slicing the dough strips so much easier. If you’re using a knife, make sure it’s sharp — dull blades will drag through the dough and tear it.
- Pastry brush: For applying garlic butter or egg wash. A silicone brush is my favorite because it doesn’t shed bristles.
- Small bowl: For melting butter or mixing egg wash.
- Toothpicks: Optional, but handy for adjusting the dough strips if they shift during baking.
Budget-Friendly Options: Don’t have a pizza cutter? A clean pair of kitchen scissors works surprisingly well for cutting dough strips. No pastry brush? Use the back of a spoon to spread melted butter — it’s not as neat, but it gets the job done.
Preparation Method
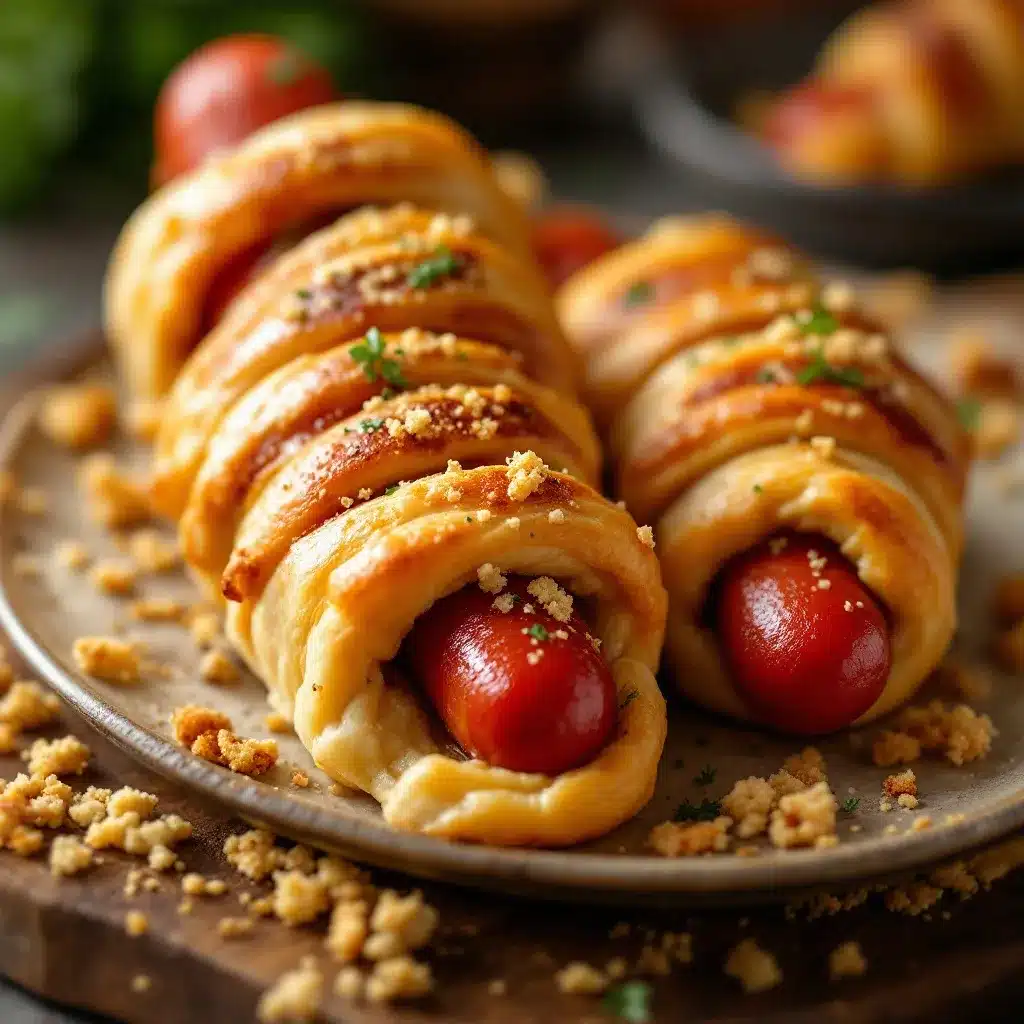
- Preheat your oven to 375°F (190°C). Line a baking sheet with parchment paper. This step matters — parchment prevents sticking and makes cleanup a breeze. While the oven heats, take your crescent dough out of the fridge.
- Unroll the crescent dough on a clean cutting board. You’ll see perforated triangles. Press the seams together gently with your fingers to create a single rectangular sheet of dough. Don’t press too hard — you just want to seal the perforations, not flatten the dough.
- Cut the dough into thin strips. Using a pizza cutter or sharp knife, slice the dough lengthwise into strips about 1/4-inch to 1/2-inch wide. You should get about 8 to 10 strips per sheet. The strips should be long enough to wrap around a hot dog at least twice. If they’re too short, your mummy will look more like a bandaged finger than a wrapped mummy.
- Wrap each hot dog with the dough strips. Start at one end of the hot dog and wrap the strip around it at a slight angle, overlapping the dough slightly as you go. Leave a small gap near the top of the hot dog for the face — about 1 inch of exposed hot dog. The dough should cover the rest of the hot dog completely. If the strip breaks, just press the ends together — the heat will seal them during baking.
- Place the wrapped mummies on the prepared baking sheet, spacing them about 2 inches apart. They won’t spread much, but leaving room ensures even browning.
- Add the eyes. Use a toothpick or the tip of a knife to make two small indentations in the exposed hot dog area. Fill each indentation with a small dot of mustard. You can also use ketchup or sriracha — just make sure the dots are small enough that they don’t run during baking.
- Brush with optional garlic butter (if using). Melt 2 tablespoons of butter with 1/2 teaspoon of garlic powder in a small bowl. Brush the mixture over the dough strips, avoiding the mustard eyes. This step adds incredible flavor and gives the mummies a beautiful golden-brown finish.
- Bake for 12 to 15 minutes, or until the dough is golden brown and cooked through. The hot dogs should be hot and slightly plump. Keep an eye on the mustard eyes — if they start to spread too much, pull the tray out a minute early.
- Let the mummies cool on the baking sheet for 2 to 3 minutes before serving. The dough will be very hot straight out of the oven, and the hot dogs retain heat for a while. Serve warm.
Troubleshooting Tip: If your dough strips keep tearing, they’re probably too thin. Cut them slightly wider next time. Also, make sure your hands are dry — moisture makes the dough sticky and prone to breaking.
Cooking Tips & Techniques
After making these mummy hot dogs more times than I care to count, I’ve picked up a few tricks that make a real difference. Let me share them with you.
Keep the dough cold. Warm crescent dough is a nightmare to work with — it gets sticky, stretches unevenly, and tears easily. If your kitchen is warm, pop the dough in the fridge for 10 minutes before cutting. Cold dough cuts cleanly and wraps beautifully.
Don’t over-wrap. I learned this the hard way. If you wrap the dough too tightly around the hot dog, it will puff up and lose that mummy-like appearance. Leave a tiny bit of slack between each wrap. The dough needs room to expand as it bakes.
Space the eyes properly. The eyes should be about 1/2 inch apart, centered on the exposed hot dog area. If they’re too close together, the mummy looks cross-eyed. Too far apart, and it looks surprised. You want that sweet spot where it looks like a mildly annoyed mummy.
Watch the baking time. Ovens vary wildly. My oven runs hot, so I start checking at the 10-minute mark. The dough should be golden brown, not pale. If the dough is browning too fast but the hot dogs aren’t hot yet, cover the mummies loosely with foil for the last few minutes.
Use a cooling rack. If you have one, transfer the baked mummies to a cooling rack after the initial 2-minute rest on the baking sheet. This prevents the bottoms from getting soggy from the steam. It’s a small step that makes a big difference in texture.
Variations & Adaptations
One of the best things about this recipe is how easy it is to change up. Here are some variations I’ve tried and loved:
- Spicy Mummies: Use jalapeño cheddar hot dogs and add a dot of sriracha for the eyes. The heat pairs beautifully with the buttery dough. I made these for a game day party and they vanished within minutes.
- Cheesy Mummies: Before wrapping the hot dogs, cut a slit lengthwise down the center and stuff it with a strip of cheddar or pepper jack cheese. The cheese melts into the hot dog as it bakes, creating a gooey surprise inside. Just be careful — the cheese gets very hot.
- Breakfast Mummies: Swap the hot dogs for breakfast sausages. Use the same crescent dough wrapping technique, but add a small dab of maple syrup on top before baking. These are perfect for Halloween morning breakfast before school.
- Veggie Mummies: Use vegetarian hot dogs or smoked tofu sausages. The texture is slightly different, but the wrapping technique works the same way. I’ve used Field Roast brand and they held up beautifully.
- Pizza Mummies: Brush the dough strips with pizza sauce before wrapping. Add a sprinkle of Italian seasoning on top. Serve with warm marinara for dipping. This is my son’s favorite version.
Serving & Storage Suggestions
These mummy hot dogs are best served warm, right after baking. The dough is at its crispiest and the hot dogs are perfectly juicy. I like to arrange them on a platter with a small bowl of mustard or ketchup for dipping. For Halloween parties, I add a few fake spider webs around the platter — it’s a silly touch, but kids love it.
Complementary Dishes: These pair wonderfully with other party snacks. I often serve them alongside crispy loaded nachos or bacon-wrapped mozzarella sticks for a full spread. For drinks, apple cider or a pumpkin spice latte makes the whole meal feel festive.
Storage: Leftover mummy hot dogs can be stored in an airtight container in the refrigerator for up to 3 days. The dough will soften over time, so they won’t be as crispy as fresh ones.
Reheating: The best way to reheat these is in the oven or air fryer. Preheat to 350°F (175°C) and bake for 5 to 7 minutes, or until heated through. The microwave works in a pinch, but the dough will be soft and chewy rather than crisp. If you’re reheating a large batch, the oven is definitely the way to go.
Freezing: You can freeze these before or after baking. To freeze before baking, arrange the wrapped mummies on a baking sheet and freeze until solid (about 2 hours). Transfer to a freezer bag and store for up to 2 months. Bake directly from frozen, adding 3 to 5 minutes to the baking time. To freeze after baking, let them cool completely, then freeze in a single layer on a baking sheet before transferring to a freezer bag.
Nutritional Information & Benefits
Here’s a rough estimate for one mummy hot dog (using standard ingredients, without optional butter or seasoning):
- Calories: 210
- Protein: 8g
- Fat: 14g
- Carbohydrates: 14g
- Fiber: 0g
- Sugar: 3g
- Sodium: 580mg
Health Considerations: These are definitely a treat, not an everyday meal. But there are a few ways to make them work within a balanced diet. Using turkey or chicken hot dogs reduces the fat content significantly. You can also find low-sodium hot dogs if you’re watching your salt intake.
Dietary Notes: This recipe is not gluten-free unless you use gluten-free crescent dough. It contains dairy if you use the butter option. For a dairy-free version, skip the butter or use a plant-based alternative.
Allergen Information: Crescent dough typically contains wheat, milk, and soy. Hot dogs often contain soy and may contain other allergens depending on the brand. Always check labels if you’re cooking for someone with food allergies.
Conclusion
These mummy hot dogs are the kind of recipe that proves you don’t need fancy ingredients or hours in the kitchen to make something memorable. They’re fun, they’re easy, and they bring a smile to everyone’s face — which is really what Halloween cooking is all about.
I’ve made these for parties, for my kids’ school events, and for lazy October evenings when we just wanted something silly and delicious. Every single time, they disappear faster than I expect. There’s something about those little mustard eyes staring up from the plate that makes people happy.
I’d love to hear how yours turn out. Did you try a fun variation? Did your kids help with the wrapping? Drop a comment below and let me know. And if you’re looking for more easy party snacks, check out my buffalo cauliflower bites or herb and garlic cheese ball bites — they’re perfect for your next gathering.
Happy Halloween, and happy snacking!
Frequently Asked Questions
Can I make these mummy hot dogs ahead of time?
Yes! You can assemble them up to 24 hours in advance. Keep them covered in the refrigerator, then bake just before serving. Add the mustard eyes right before baking so they don’t smear.
Why did my dough strips break when I tried to wrap them?
This usually happens when the dough is too warm or the strips are cut too thin. Try chilling the dough for 10 minutes before cutting, and aim for strips that are about 1/4-inch wide. If a strip does break, just press the ends together — they’ll seal during baking.
Can I use puff pastry instead of crescent dough?
Absolutely. Puff pastry gives a flakier, more buttery texture. Roll it out slightly thinner before cutting into strips, and bake at 400°F (200°C) for about 15 minutes, or until golden and puffed.
How do I keep the mustard eyes from running during baking?
Use a toothpick to make small indentations in the hot dog before adding the mustard. This creates a little well that holds the mustard in place. Also, don’t use too much — a tiny dot is plenty.
Can I freeze these after baking?
Yes. Let them cool completely, then freeze in a single layer on a baking sheet. Once frozen, transfer to a freezer bag. Reheat in the oven at 350°F (175°C) for 5 to 7 minutes, or until warmed through. They won’t be quite as crispy as fresh, but they’re still delicious.
Pin This Recipe!
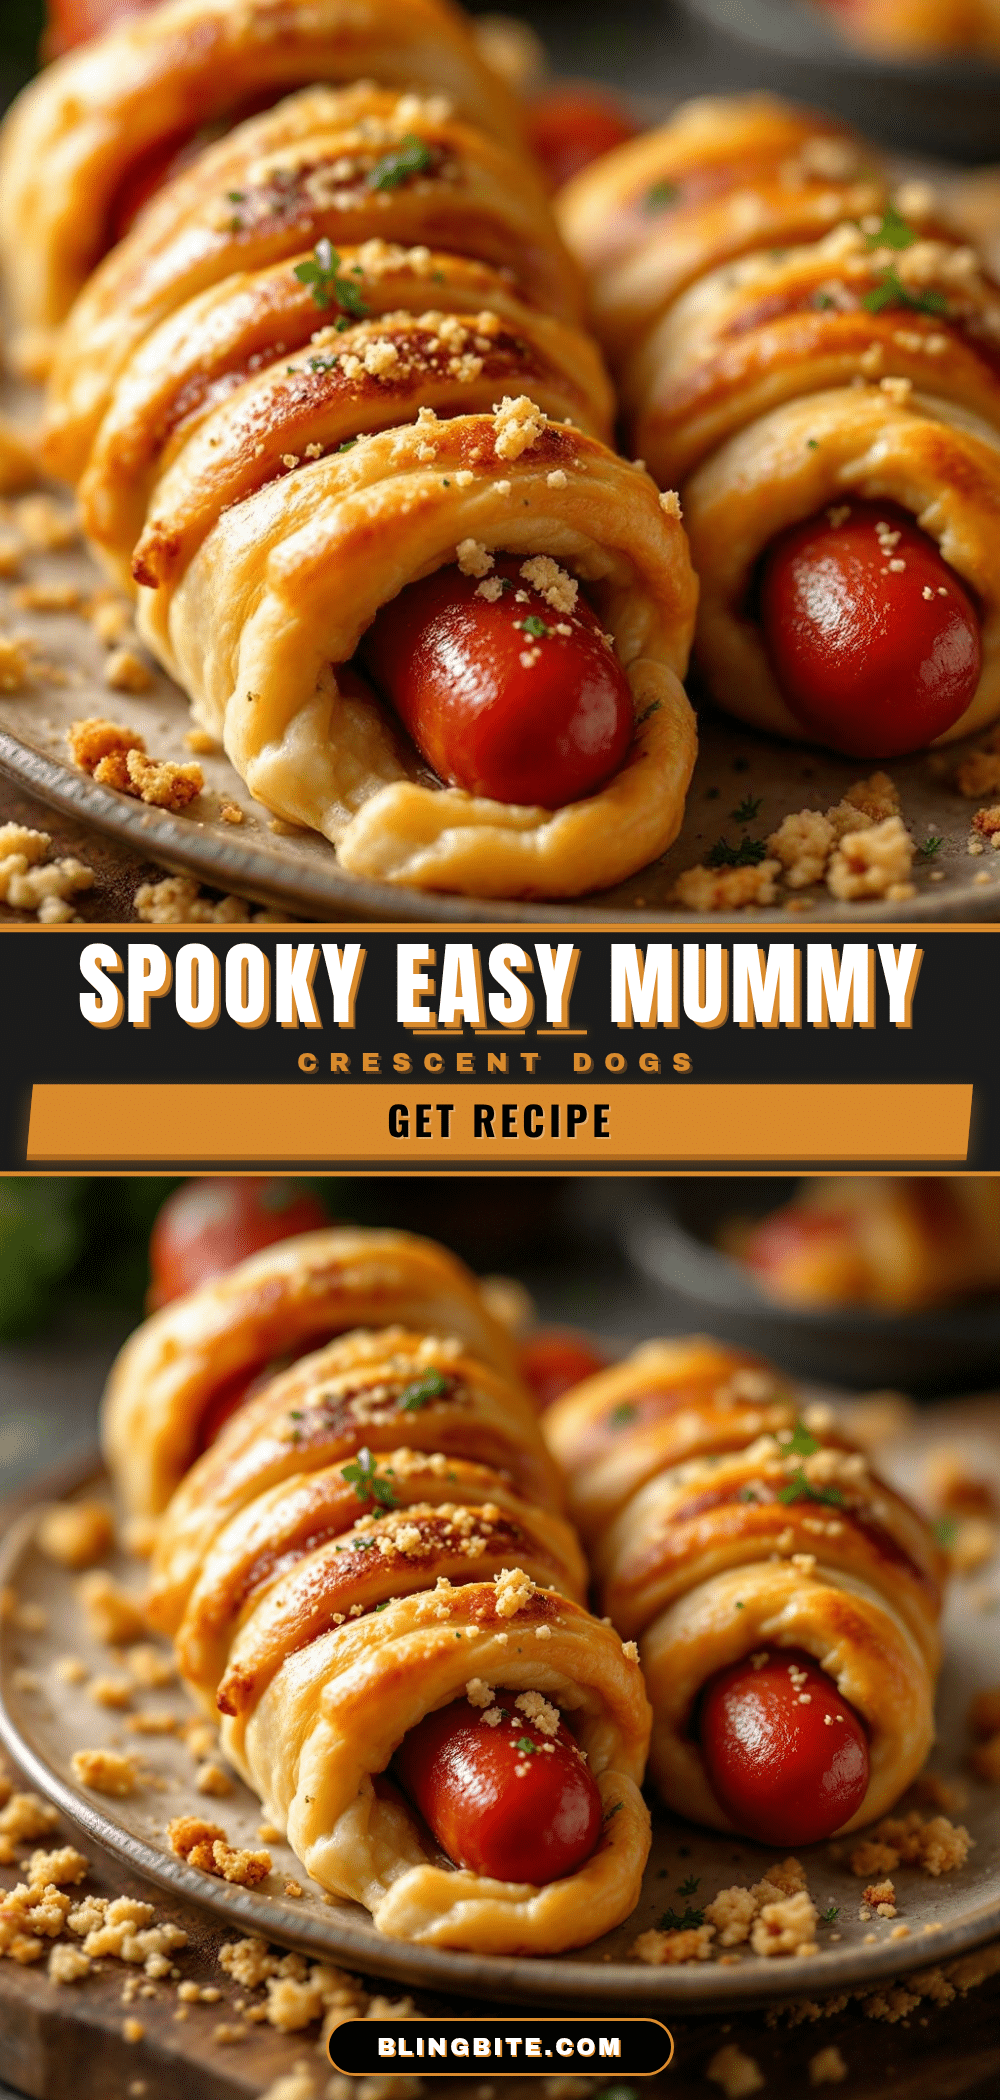
Easy Mummy Hot Dogs Recipe – Best Halloween Snack

These mummy hot dogs are a fun and easy Halloween snack made with crescent dough wrapped around hot dogs, with mustard eyes. Perfect for parties, they’re kid-friendly and require only 15 minutes of prep.
- Prep Time: 15 minutes
- Cook Time: 15 minutes
- Total Time: 30 minutes
- Yield: 8 servings 1x
- Category: Appetizer
- Cuisine: American
Ingredients
- 8 standard-sized hot dogs (all-beef recommended)
- 1 can (8-count) refrigerated crescent roll dough (e.g., Pillsbury)
- Yellow mustard (for eyes)
- Optional: Everything bagel seasoning
- Optional: 2 tablespoons butter + 1/2 teaspoon garlic powder (for garlic butter)
Instructions
- Preheat oven to 375°F (190°C). Line a baking sheet with parchment paper.
- Unroll crescent dough on a cutting board and press seams together to form a single rectangular sheet.
- Cut dough lengthwise into thin strips, about 1/4 to 1/2 inch wide (8 to 10 strips per sheet).
- Wrap each hot dog with dough strips, starting at one end and wrapping at a slight angle, overlapping slightly. Leave about 1 inch of hot dog exposed at the top for the face.
- Place wrapped mummies on prepared baking sheet, spacing about 2 inches apart.
- Use a toothpick or knife tip to make two small indentations in the exposed hot dog area. Fill each with a small dot of mustard.
- Optional: Brush dough strips with garlic butter (melt 2 tablespoons butter with 1/2 teaspoon garlic powder), avoiding mustard eyes.
- Bake for 12 to 15 minutes, until dough is golden brown and hot dogs are hot.
- Let cool on baking sheet for 2 to 3 minutes before serving. Serve warm.
Notes
Keep dough cold for easier handling. Don’t over-wrap the hot dogs; leave a little slack. Space mustard eyes about 1/2 inch apart for best appearance. For gluten-free, use gluten-free crescent dough. For lower carb, use cheese strips instead of dough.
Nutrition
- Serving Size: 1 mummy hot dog
- Calories: 210
- Sugar: 3
- Sodium: 580
- Fat: 14
- Saturated Fat: 5
- Carbohydrates: 14
- Protein: 8
Keywords: mummy hot dogs, Halloween snack, crescent roll hot dogs, easy Halloween recipe, kid-friendly snack