I have never been a Halloween party person. The costumes, the crowds, the pressure to be clever about it all—honestly, it always felt like more work than fun. But then my niece turned six, and my sister announced she was throwing a Halloween bash for twenty kids and their parents. I offered to bring an appetizer, mostly out of guilt, and immediately regretted it. I spent three days scrolling through recipes that were either too complicated (a gelatin brain mold? no thank you) or too boring (just regular chips and dip). I needed something that looked like I tried but didn’t actually require me to try that hard. That is when I stumbled onto the idea of spooky spider deviled eggs. I had made regular deviled eggs a million times, but the thought of turning them into little creepy-crawly arachnids felt both ridiculous and perfect. I burned the first batch of bacon (my kitchen smelled like a campfire for two days), and the first spider legs I made looked more like sad little twigs. But by the third attempt, something clicked. These things were actually cute—in a gross, spooky way. And the best part? They tasted just as good as they looked. That is how this recipe became my go-to Halloween dish, and honestly, I haven’t brought anything else to a Halloween party since.
Why You Will Love This Recipe
Let me tell you why these easy spooky spider deviled eggs are about to become your Halloween hero. First off, they are ridiculously simple to make. If you can boil an egg and mash a yolk, you have got this handled. We are talking about 30 minutes of active work, and the rest is just letting things chill in the fridge. No fancy equipment, no obscure ingredients, no stress.
Here is what makes them stand out:
- Quick & Easy: Comes together in under 30 minutes of active prep time. Perfect for last-minute Halloween plans or when you just want to show up with something impressive without the all-day kitchen marathon.
- Simple Ingredients: Eggs, mayo, mustard, paprika, and black olives. That is it. You probably have most of this stuff in your kitchen right now, which means no special trip to the grocery store.
- Perfect for Halloween Parties: These little guys are the life of the party. Kids love them, adults love them, and they disappear faster than any candy bowl I have ever seen. They are creepy without being gross, which is the sweet spot for Halloween food.
- Crowd-Pleaser: I have brought these to multiple Halloween gatherings, and they are always the first thing to go. People cannot resist the combination of creamy, tangy filling and the fun spider presentation. It is comfort food with a spooky twist.
- Unbelievably Delicious: Look, the spider look is fun, but the taste is what keeps people coming back. The filling is perfectly seasoned—creamy, tangy, with just a hint of smokiness from the paprika. It is classic deviled eggs, elevated just enough to feel special.
What makes this recipe different from every other deviled egg recipe out there? It is the presentation, obviously. But it is also the balance of flavors. I have tweaked the classic deviled egg formula over the years—a little more mustard than most recipes call for, a pinch of garlic powder, and a dash of hot sauce that adds depth without heat. The result is a filling that is so good you will want to eat it with a spoon (I may or may not have done this). And the spider legs? They are not just for show. The black olive legs add a salty, briny pop that contrasts beautifully with the creamy filling. Every bite has a little surprise.
This is the kind of recipe that makes you look like a Halloween hero without any of the work. It is perfect for impressing guests, making your kids smile, or just having something fun to snack on while you hand out candy. And honestly, watching people’s faces light up when they see these little guys is the best part.
What Ingredients You Will Need
This recipe uses simple, everyday ingredients to create something that looks like it came from a fancy Halloween catering menu. The magic is in the combination of classic deviled egg flavors with a few clever additions that make the spider theme work perfectly.
For the Deviled Eggs
- 12 large eggs – Use eggs that are at least a week old for easier peeling. Fresh eggs are harder to peel cleanly, so plan ahead if you can.
- 1/3 cup mayonnaise – I prefer Duke’s or Hellmann’s for the creamiest texture. Full-fat is best here; low-fat mayo can make the filling taste thin.
- 2 tablespoons yellow mustard – This gives the filling that classic tangy flavor. You can use Dijon for a sharper taste if you prefer.
- 1 tablespoon white vinegar – A little acidity balances the richness of the yolks and mayo.
- 1/2 teaspoon smoked paprika – This adds a subtle smokiness and gives the filling a beautiful color. Regular paprika works too, but smoked is better.
- 1/4 teaspoon garlic powder – Just a hint of savory depth. Do not skip this—it makes a difference.
- 1/4 teaspoon salt – Adjust to taste, but do not undersalt. Eggs need salt to bring out their flavor.
- 1/8 teaspoon black pepper – Freshly ground is best.
- 1-2 teaspoons hot sauce – Optional, but I highly recommend it. It does not make the eggs spicy; it just adds a little complexity. Frank’s RedHot is my go-to.
For the Spider Decorations
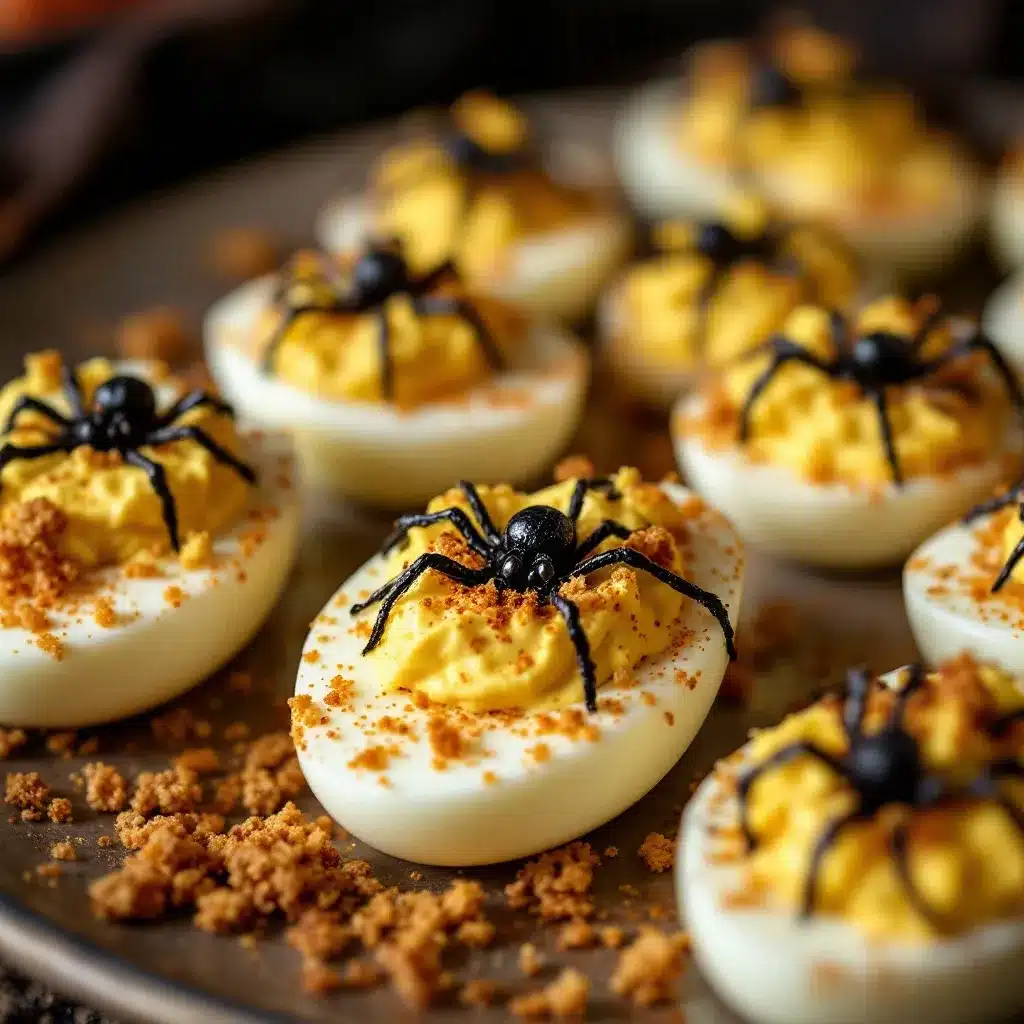
- 1 can (6 ounces) large black olives – You need the big ones, not the small sliced ones. Look for “jumbo” or “colossal” black olives. These will become the spider bodies.
- 1 can (4 ounces) sliced black olives – These are for the spider legs. The slices are already the perfect size for little spider legs.
- Optional: 1-2 tablespoons cream cheese – If you want to make the spider bodies extra creepy, you can pipe a tiny bit of cream cheese on top of the olive to look like spider eyes. Totally optional, but fun.
Ingredient Selection Tips: For the best texture, look for black olives that are firm and not mushy. I personally prefer Lindsay brand olives—they hold their shape well and have a nice briny flavor that complements the eggs. If you cannot find jumbo olives, you can use regular-sized black olives, but the spiders will look more like baby spiders. Still cute, just smaller.
Substitution Guidance: If you are dairy-free, skip the cream cheese eyes—the spiders look great without them. For a lighter version, you can use Greek yogurt instead of half the mayo, but the texture will be a little tangier and less rich. If you are avoiding eggs entirely, this recipe is obviously not for you, but you could try making the filling with silken tofu and black salt for a vegan version. I have not tested that, but I have heard good things.
Equipment Needed
You do not need a lot of fancy tools for this recipe, which is one of the reasons I love it. Here is what you will need:
- Large pot – For boiling the eggs. Make sure it is big enough to hold all 12 eggs in a single layer.
- Mixing bowls – One medium bowl for the yolks and one small bowl for the olive decorations.
- Fork or potato masher – For mashing the yolks. A fork works perfectly fine, but a potato masher makes it even easier.
- Piping bag or zip-top bag – For piping the filling into the egg whites. A zip-top bag with the corner snipped off works just as well as a fancy piping bag.
- Sharp knife – For cutting the olives into spider bodies. A paring knife works best.
- Cutting board – For all your chopping and olive-slicing needs.
- Slotted spoon – For removing the eggs from the boiling water.
- Platter or serving dish – For presenting your spooky spider deviled eggs. A dark-colored platter makes the spiders pop.
Budget-Friendly Alternatives: If you do not have a piping bag, do not worry. A simple zip-top bag with a tiny corner cut off works beautifully. I have been using the same trick for years and it works every time. If you do not have a potato masher, a fork is totally fine—it just takes an extra minute of mashing. And if you are using a new pot for the eggs, make sure it is not too wide; you want the eggs to sit in a single layer so they cook evenly.
Personal Experience: I have tried making these with a pastry bag and a star tip, and honestly, it is not worth the extra effort. The filling is soft enough that it pipes easily through a simple round opening. Plus, the spider bodies cover up most of the piping work anyway, so do not stress about making the filling look perfect. Nobody is going to see it once the olive spider is on top.
Preparation Method
Alright, let us get into the actual cooking. I have broken this down step by step so you do not miss anything. Trust me, I have made every mistake in the book so you do not have to.
Step 1: Boil the Eggs
Place your 12 eggs in a single layer in a large pot. Cover them with cold water by about an inch. Bring the water to a rolling boil over high heat. Once it is boiling hard, cover the pot, turn off the heat, and let the eggs sit in the hot water for exactly 12 minutes. This gives you hard-boiled eggs with fully set yolks but no gray ring around the outside. While the eggs are sitting, prepare an ice bath—a large bowl filled with cold water and a generous amount of ice cubes. After 12 minutes, use a slotted spoon to transfer the eggs to the ice bath. Let them cool completely, about 10-15 minutes. This shock stops the cooking and makes the eggs easier to peel.
Step 2: Peel the Eggs
Gently tap each egg on the counter to crack the shell all over. Start peeling from the wider end, where the air pocket is—this usually makes it easier. If the shell is stubborn, run the egg under cold water while you peel. I have found that eggs that are a week or two old peel much more easily than fresh ones. If you are planning ahead, buy your eggs a week before you make this recipe. Pat the peeled eggs dry with a paper towel.
Step 3: Cut and Separate
Using a sharp knife, slice each egg in half lengthwise. Gently pop out the yolks into a medium mixing bowl. Arrange the egg white halves on your serving platter, cut side up. Try to handle them gently so they do not tear. If a few tear, do not worry—you can hide them under the spider decorations later.
Step 4: Make the Filling
Add the mayonnaise, yellow mustard, white vinegar, smoked paprika, garlic powder, salt, black pepper, and hot sauce (if using) to the bowl with the yolks. Mash everything together with a fork until the mixture is smooth and creamy. Taste it and adjust the seasoning if needed. I usually end up adding a little more salt and a pinch more paprika. The filling should be creamy but not runny. If it seems too thick, add a teaspoon of water or pickle juice. If it is too thin, add a little more mayo.
Step 5: Prepare the Spider Decorations
Drain the can of large black olives. Slice each olive in half crosswise (not lengthwise) so you get two round halves. Each half will be a spider body. You will need one half per deviled egg half, so 24 spider bodies total. If you have extra olives, save them for snacking. For the spider legs, drain the sliced black olives. You will need 8 slices per spider—4 on each side. The slices are usually thin enough to work as legs, but if they are too thick, you can cut them in half again to make thinner legs.
Step 6: Pipe the Filling
Spoon the filling into a piping bag or a zip-top bag with a small corner snipped off. Pipe a generous amount of filling into each egg white half. You want the filling to mound up slightly above the edge of the egg white so it looks full and appetizing. If you do not have a piping bag, you can use a small spoon to carefully fill each egg white. It will not look as polished, but it will taste the same.
Step 7: Assemble the Spiders
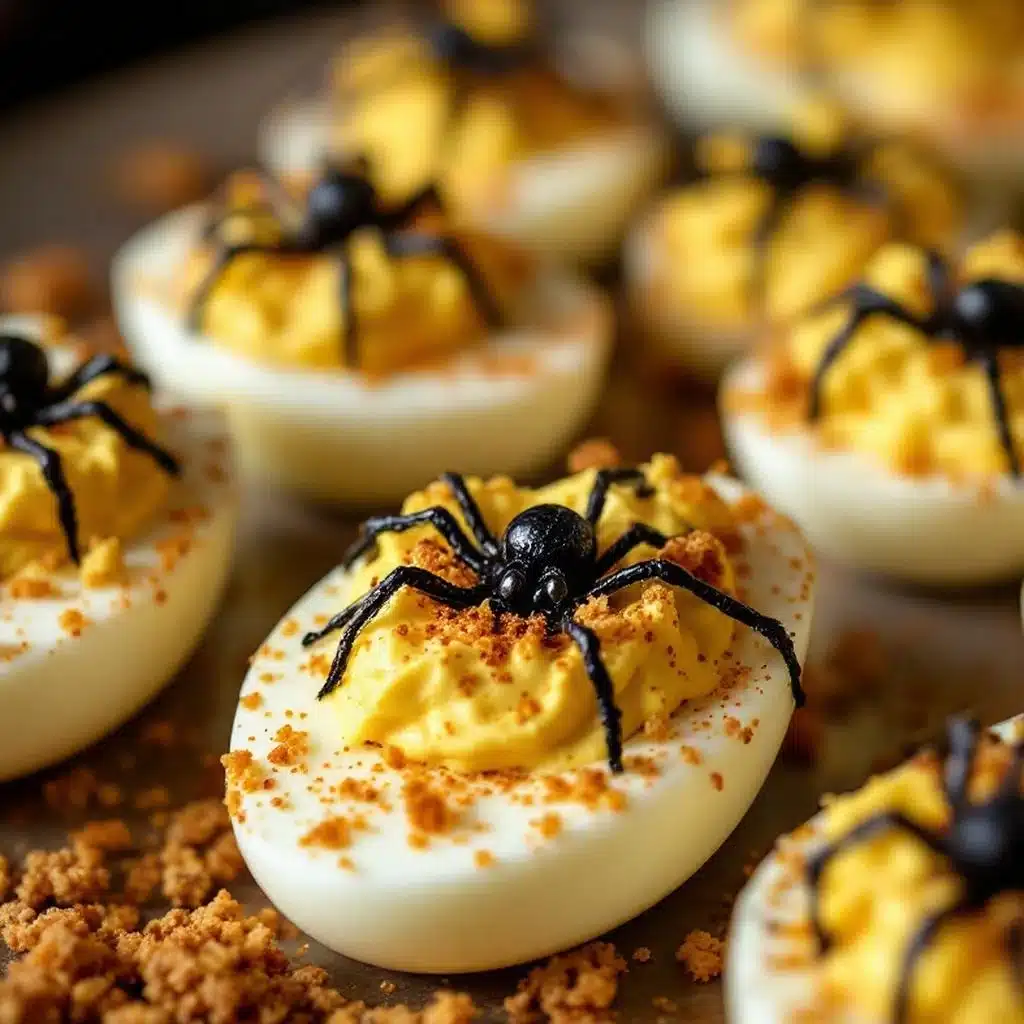
This is the fun part. Take one olive half and place it cut side down on top of the filling in the center of each deviled egg. The rounded side of the olive should face up, looking like a spider body. Now, take 8 sliced olive pieces and arrange them around the spider body to look like legs—4 on each side, slightly angled so they look like a spider crawling. Press them gently into the filling so they stay in place. If you want to add eyes, pipe a tiny dot of cream cheese on top of the olive body using a toothpick or the tip of a piping bag. This step is totally optional but adds a lot of personality.
Step 8: Chill and Serve
Once all the spiders are assembled, cover the platter with plastic wrap and refrigerate for at least 30 minutes before serving. This helps the flavors meld together and makes the filling firm up slightly. The deviled eggs taste best when they are cold but not ice-cold, so take them out of the fridge about 10 minutes before serving. Sprinkle a little extra smoked paprika over the top for color just before serving.
Cooking Tips & Techniques
I have made these spooky spider deviled eggs more times than I care to admit, and I have learned a few things along the way. Here are my best tips for getting perfect results every time.
Perfectly boiled eggs every time: The biggest mistake people make is overcooking the eggs. That greenish-gray ring around the yolk happens when eggs are boiled too long or at too high a temperature. The method I shared—bringing the water to a boil, then turning off the heat and letting the eggs sit for 12 minutes—is foolproof. I have been using it for years and never get that gray ring. Also, do not skip the ice bath. It stops the cooking immediately and makes peeling a million times easier.
Peeling without destroying the egg whites: I used to dread peeling hard-boiled eggs because I would always tear the whites. Then I learned a trick: roll the egg gently on the counter under your palm to crack the shell all over before you start peeling. The shell comes off in larger pieces and takes less of the white with it. Also, starting at the wider end of the egg, where the air pocket is, helps separate the membrane from the white. If you are still struggling, try peeling the eggs under running cold water—it helps loosen the shell.
Making the filling extra creamy: The key to a silky smooth filling is mashing the yolks thoroughly before adding the wet ingredients. I mash them with a fork until there are no visible lumps, then add the mayo and other ingredients. Some people like to use a food processor for this, but I find it makes the filling too smooth—almost gluey. A fork gives you a nice, slightly textured consistency that feels homemade and delicious.
Piping like a pro: If you are using a zip-top bag for piping, fill it only halfway to avoid overflow. Snip a very small corner off the bag—you can always cut more if needed, but you cannot undo a cut that is too big. Hold the bag at a 45-degree angle and apply steady pressure. If you are nervous, practice on a plate first. And remember, the spider body covers most of the filling anyway, so it does not have to be perfect.
Keeping the spiders intact: The olive legs can sometimes slide off the filling if it is too soft. To prevent this, make sure your filling is thick enough to hold them. If the filling seems too soft, refrigerate it for 10-15 minutes before piping. You can also press the legs gently into the filling so they stay put. If you are transporting the deviled eggs to a party, assemble them at the destination if possible. Otherwise, place them in a single layer in a container with a lid and handle them gently.
Variations & Adaptations
One of the best things about this recipe is how easy it is to customize. Here are some variations I have tried and loved.
Spicy Spider Deviled Eggs: Add a finely chopped jalapeño (seeds removed) to the filling for a kick of heat. You can also mix in a tablespoon of sriracha or chipotle pepper in adobo sauce (minced). The smokiness of chipotle pairs beautifully with the paprika. I made these for a Halloween party where everyone was doing spicy food, and they were a huge hit. Just be careful not to overdo it—you want the heat to be noticeable but not overwhelming.
Guacamole Spider Deviled Eggs: Swap the mayonnaise for mashed avocado and add a squeeze of lime juice, a pinch of cumin, and some chopped cilantro. The green filling looks extra creepy against the black olive spiders. This version is dairy-free and a little healthier, but it is just as delicious. The only catch is that the filling will brown slightly over time, so make these closer to serving time.
Bacon-Wrapped Spider Deviled Eggs: Cook 6 strips of bacon until crispy, then crumble them. Mix half the crumbled bacon into the filling and sprinkle the rest on top of the deviled eggs before adding the spider bodies. The smoky, salty bacon flavor takes these to another level. I made these for a football-watching party, and people lost their minds. Just be aware that the bacon adds extra salt, so adjust your seasoning accordingly.
Pickle-Brined Spider Deviled Eggs: Add a tablespoon of pickle brine to the filling instead of the white vinegar. The dill flavor adds a bright, tangy note that is surprisingly good with the olive spiders. I tried this on a whim one day when I was out of white vinegar, and it has become my go-to version. Use dill pickle brine, not sweet pickle brine, for the best results.
Mini Spider Deviled Eggs: If you are serving a crowd and want bite-sized options, use quail eggs instead of chicken eggs. You will need about 24 quail eggs for a similar yield. Boil them for 3 minutes instead of 12, and peel them carefully (they are more delicate). The tiny spiders are adorable and perfect for cocktail parties. Just be prepared for a longer peeling process—quail eggs are fiddly.
Serving & Storage Suggestions
These spooky spider deviled eggs are best served cold, straight from the refrigerator. I like to arrange them on a dark-colored platter or a black serving board—the contrast makes the spiders really pop. You can garnish the platter with fresh herbs like parsley or dill for a pop of green, or scatter some extra olive slices around for a creepy touch.
Complementary Dishes: These deviled eggs pair beautifully with other Halloween appetizers. They go great with crispy bacon-wrapped jalapeño popper football bites for a game-day Halloween spread, or alongside seven-layer taco dip cups for a full party menu. If you are serving a bigger meal, they are a fun starter before something hearty like loaded baked potato soup.
Storage: Store leftover deviled eggs in an airtight container in the refrigerator for up to 2 days. The olive decorations may soften slightly over time, but they will still look good. I do not recommend freezing deviled eggs—the texture of the filling becomes watery and grainy when thawed.
Reheating: Do not reheat these. They are meant to be served cold. If you have made them ahead of time, just take them out of the fridge 10 minutes before serving to take the chill off.
Flavor Development: Interestingly, these deviled eggs taste even better the next day. The flavors meld together overnight, and the filling becomes more cohesive. I often make them a day ahead of time for parties. Just wait to add the olive spiders until right before serving so they look fresh.
Nutritional Information & Benefits
Here is the approximate nutritional breakdown for one spooky spider deviled egg (based on 24 servings):
| Nutrient | Amount |
|---|---|
| Calories | 85 |
| Total Fat | 7g |
| Saturated Fat | 1.5g |
| Cholesterol | 95mg |
| Sodium | 180mg |
| Total Carbohydrates | 1g |
| Protein | 6g |
Health Benefits: Eggs are a fantastic source of high-quality protein, containing all nine essential amino acids. They are also rich in choline, which supports brain health, and lutein and zeaxanthin, which are important for eye health. The olive spiders add healthy monounsaturated fats and a dose of vitamin E. While deviled eggs are not exactly health food, they are a relatively nutritious party appetizer compared to most options. They are naturally low in carbs and can fit into a keto or low-carb diet.
Dietary Considerations: This recipe is naturally gluten-free and low-carb. It is also suitable for a keto diet. If you are watching your cholesterol, you can make the filling with half mayo and half Greek yogurt to reduce the fat content. For a dairy-free version, skip the cream cheese eyes—the spiders look great without them. The main allergens in this recipe are eggs and (if using) dairy, so be sure to label them clearly if you are serving a mixed crowd.
Personal Wellness Perspective: I do not believe in demonizing food, and I think deviled eggs can absolutely be part of a balanced diet. They are satisfying, protein-rich, and far more nutritious than a bag of chips or a candy bar. I serve these at Halloween parties without any guilt, and I encourage you to do the same. Food is about joy and connection, and these little spiders bring plenty of both.
Conclusion
These easy spooky spider deviled eggs are proof that Halloween food does not have to be complicated to be impressive. With just a handful of simple ingredients and about 30 minutes of work, you can create an appetizer that looks like it came straight out of a haunted kitchen. The creamy, tangy filling is perfectly balanced, the olive spiders are adorable (in a creepy way), and the whole thing comes together with minimal stress. I have made these for kids’ parties, adult gatherings, and even just for myself on Halloween night while watching horror movies. They never get old.
I encourage you to make these your own. Add extra hot sauce if you like spice, swap in avocado for a healthier twist, or go all out with bacon and cheese. The base recipe is so forgiving that you can really play around with it. And if you make them, I would love to hear about it. Leave a comment below and let me know how your spiders turned out—did the kids love them? Did they disappear faster than the candy? Did you come up with a cool variation I should try? Share your photos, your tips, and your stories. That is what makes cooking fun, and that is what makes Halloween special.
So go ahead, boil those eggs, slice those olives, and make some spiders. Your Halloween party guests will thank you. And honestly, you will thank yourself when you see how easy and delicious they are. Happy Halloween, friends. Stay spooky.
Frequently Asked Questions
Can I make these spooky spider deviled eggs ahead of time?
Absolutely. You can make the deviled eggs and the filling up to 2 days in advance. Store the filling in a piping bag or a zip-top bag in the refrigerator, and keep the egg whites in an airtight container. Assemble the spiders on the day of your party for the freshest look. The olive legs can soften if they sit on the filling for too long, so adding them right before serving is best.
How do I keep the olive spider legs from falling off?
The key is to make sure your filling is thick enough to hold them. If the filling is too soft, refrigerate it for 10-15 minutes before piping. When you place the olive slices, press them gently into the filling so they are partially embedded. You can also use a tiny dab of cream cheese or mayo as “glue” to hold the legs in place if needed.
Can I use a different type of olive for the spiders?
Yes, but the look will change. Large black olives are ideal because they are round and dark, which makes them look like spider bodies. You can use Kalamata olives for a more intense flavor, but they are smaller and have a different shape. Green olives will work too, but they look less like spiders and more like some kind of alien creature—which could actually be fun for Halloween.
How do I get perfectly peeled hard-boiled eggs every time?
Use eggs that are at least a week old—fresh eggs are harder to peel. After boiling, transfer them immediately to an ice bath to stop the cooking. Crack the shell all over by rolling the egg gently on the counter, then start peeling from the wider end where the air pocket is. Peeling under running cold water can also help loosen the shell.
Can I make these spider deviled eggs without mayonnaise?
Yes. You can substitute the mayonnaise with mashed avocado for a healthier, dairy-free version. The texture will be slightly different, and the filling will be greener, but it is delicious. You can also use Greek yogurt for a tangier filling, or a combination of yogurt and avocado. Just keep in mind that avocado-based fillings will brown over time, so make them closer to serving.
Pin This Recipe!
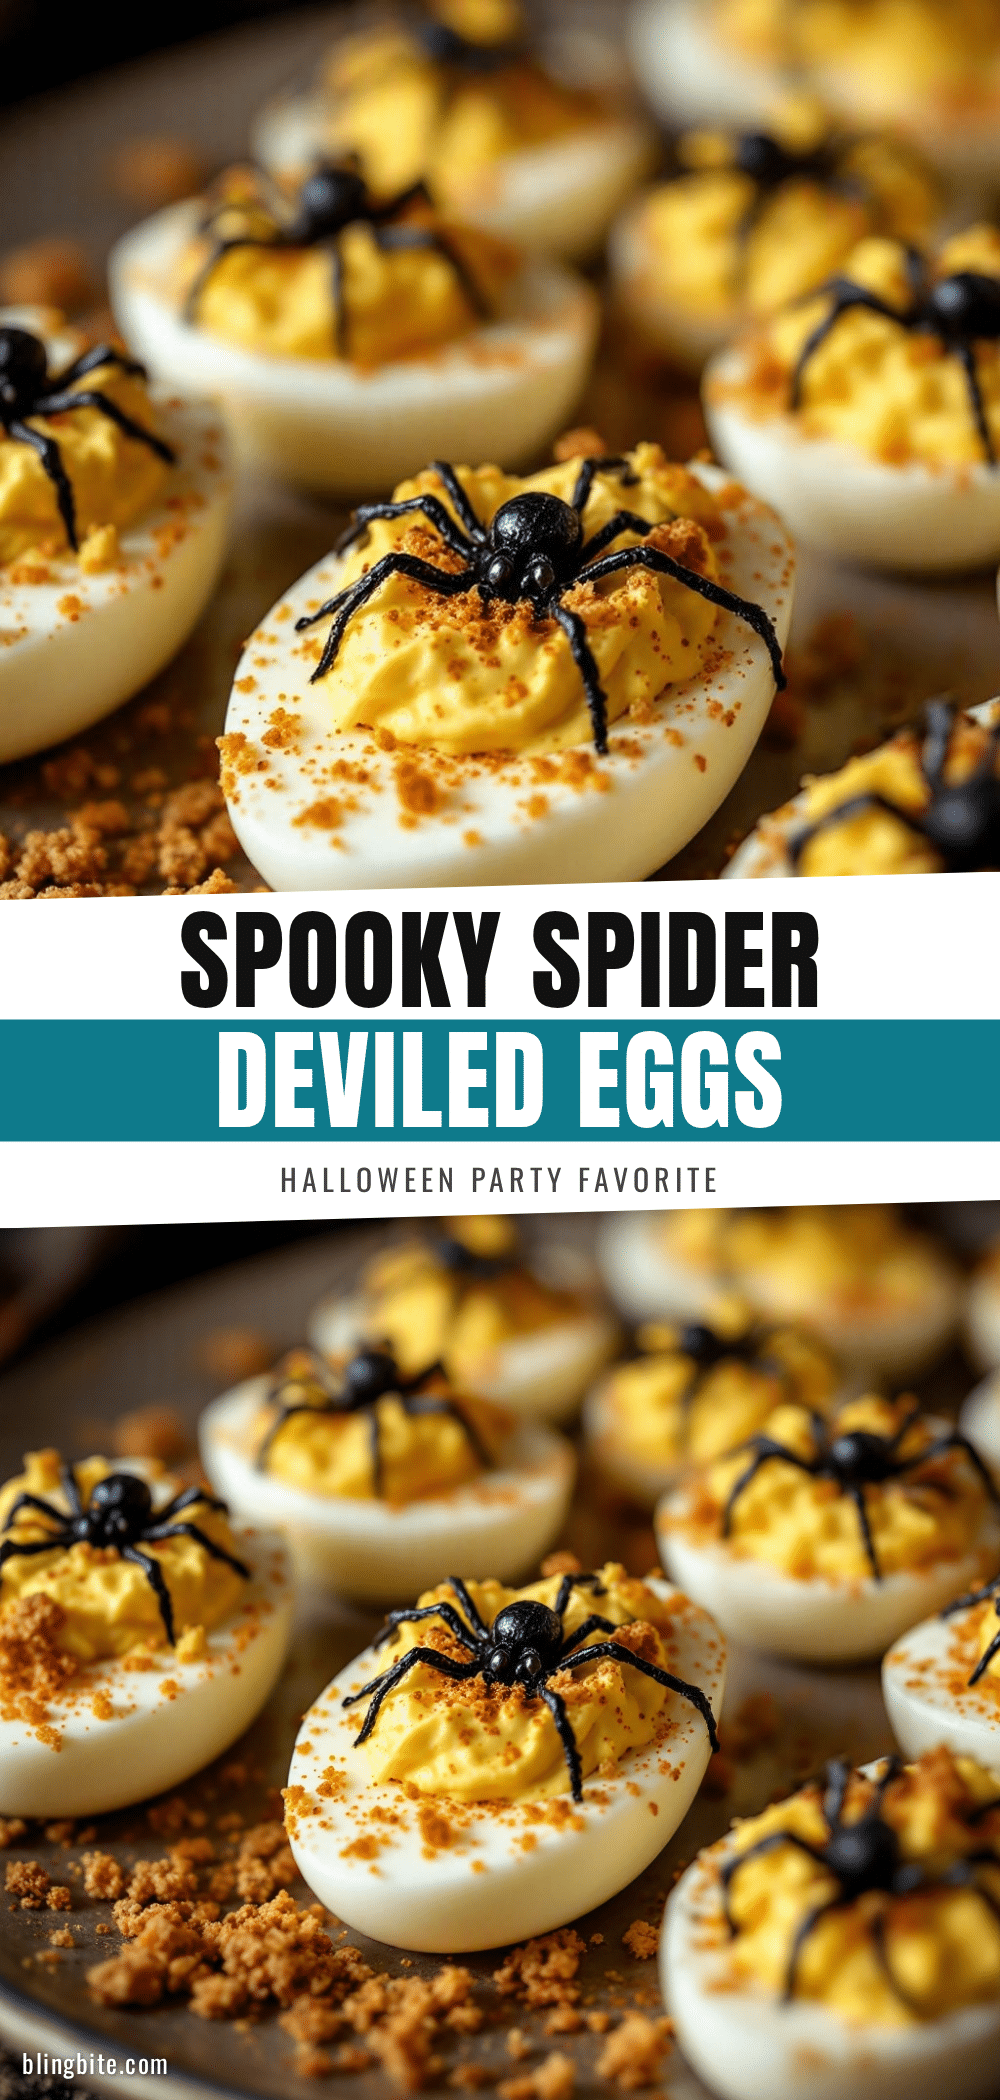
Easy Spooky Spider Deviled Eggs: Best Halloween Appetizer
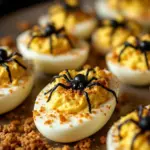
These spooky spider deviled eggs are a fun and easy Halloween appetizer that looks impressive but requires minimal effort. Creamy, tangy deviled eggs are topped with black olive spiders for a creepy-cute presentation that kids and adults love.
- Prep Time: 30 minutes
- Cook Time: 12 minutes
- Total Time: 42 minutes
- Yield: 24 servings 1x
- Category: Appetizer
- Cuisine: American
Ingredients
- 12 large eggs
- 1/3 cup mayonnaise
- 2 tablespoons yellow mustard
- 1 tablespoon white vinegar
- 1/2 teaspoon smoked paprika
- 1/4 teaspoon garlic powder
- 1/4 teaspoon salt
- 1/8 teaspoon black pepper
- 1–2 teaspoons hot sauce (optional)
- 1 can (6 ounces) large black olives
- 1 can (4 ounces) sliced black olives
- 1–2 tablespoons cream cheese (optional, for eyes)
Instructions
- Place eggs in a single layer in a large pot. Cover with cold water by about an inch. Bring to a rolling boil over high heat. Cover, turn off heat, and let sit for exactly 12 minutes. Meanwhile, prepare an ice bath. Transfer eggs to ice bath and cool completely, about 10-15 minutes.
- Gently tap each egg on the counter to crack the shell all over. Peel starting from the wider end. Pat peeled eggs dry.
- Slice each egg in half lengthwise. Pop out yolks into a medium bowl. Arrange egg white halves on a serving platter, cut side up.
- Add mayonnaise, yellow mustard, white vinegar, smoked paprika, garlic powder, salt, black pepper, and hot sauce (if using) to the yolks. Mash with a fork until smooth and creamy. Adjust seasoning to taste.
- Drain large black olives and slice each in half crosswise to make spider bodies. Drain sliced black olives for legs.
- Spoon filling into a piping bag or zip-top bag with a small corner snipped off. Pipe a generous mound of filling into each egg white half.
- Place one olive half (cut side down) on the filling in the center of each deviled egg. Arrange 8 sliced olive pieces around the spider body to look like legs (4 on each side). Press gently into filling. Optionally, pipe a tiny dot of cream cheese on top of the olive for eyes.
- Cover platter with plastic wrap and refrigerate for at least 30 minutes before serving. Remove from fridge 10 minutes before serving. Sprinkle with extra smoked paprika just before serving.
Notes
Use eggs that are at least a week old for easier peeling. For best results, assemble spiders just before serving to keep olive legs from softening. The filling can be made up to 2 days ahead and stored in the refrigerator. For a dairy-free version, skip the cream cheese eyes.
Nutrition
- Serving Size: 1 deviled egg
- Calories: 85
- Sodium: 180
- Fat: 7
- Saturated Fat: 1.5
- Carbohydrates: 1
- Protein: 6
Keywords: Halloween appetizer, deviled eggs, spider deviled eggs, spooky deviled eggs, easy Halloween recipe, party appetizer, black olive spider