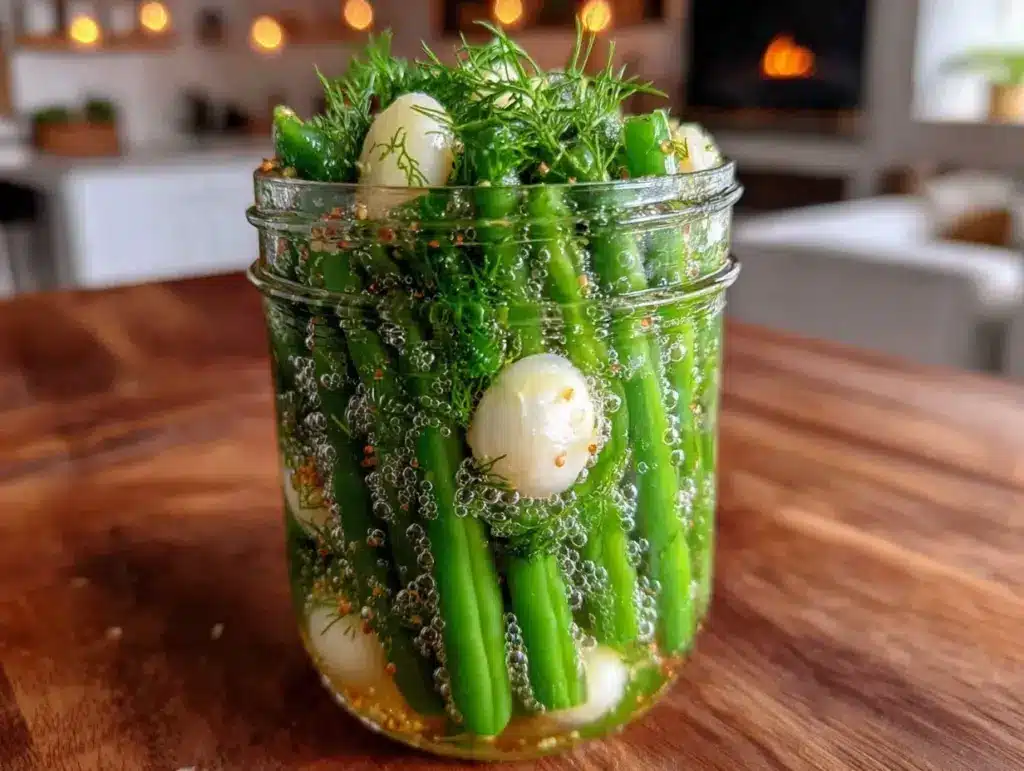
I did not trust fresh green beans as a pickling candidate. Honestly, the idea of turning these crisp, garden-fresh beans into something tangy and garlicky sounded like a mistake until the first jar I made sat in my fridge for a couple of weeks. That first bite? It was a game changer. The beans still had their satisfying crunch, but the garlic brine infused with dill gave them this punch of flavor that was totally unexpected. Honestly, I kept thinking, “Why didn’t I try this sooner?”
What really sold me was how these fresh garden dilly beans, pickled in garlic brine, managed to blend the brightness of summer harvest with that cozy, savory tang we all crave. It’s not your typical pickle experience — these beans are crunchy, garlicky, and have this fresh herbal note that’s just right. I remember sitting there, munching on them straight from the jar, thinking about how these pickled beans could fit into my meals beyond just snacking.
It stuck with me because it’s a recipe that captures the best of the season without fuss. Plus, it’s something a little different from classic cucumber pickles, which honestly can get boring. I’m still surprised at how well the garlic brine brings out the essence of the beans while preserving that fresh snap. There’s a quiet confidence in these jars that I didn’t expect, and now I always keep a few ready to brighten up salads, sandwiches, or even alongside a cozy dinner like my favorite rosemary garlic pot roast.
Why You’ll Love This Recipe
This fresh garden dilly beans pickled in garlic brine recipe isn’t just another pickle; it’s genuinely one of those homemade wins that surprises you with each bite. After testing multiple brine ratios and timing methods, I ended up with a version that’s perfectly balanced — not too sour, with just the right amount of garlic kick and fresh dill aroma. Here’s why this recipe has earned a spot in my kitchen:
- Quick & Easy: The prep takes under 20 minutes, and after a few days of pickling, you have a ready-to-eat snack or condiment.
- Simple Ingredients: You don’t need anything fancy—just fresh green beans, garlic, dill, vinegar, and a few pantry staples.
- Perfect for Summer & Beyond: It’s an ideal way to preserve garden beans at their peak, but honestly, these jars make great gifts or additions to winter charcuterie boards.
- Crowd-Pleaser: Friends who usually turn up their noses at pickled vegetables have gone back for seconds (and thirds!).
- Unbelievably Delicious: The garlicky brine seeps right into the beans, giving them a zingy, herbaceous flavor that’s unlike anything store-bought.
What makes this recipe stand out is the garlic brine itself — it’s a little sharper than your average vinegar solution, but mellowed by a touch of sugar and the fresh dill sprigs. I also like to use smaller, tender beans for the best texture. This isn’t just a pickle; it’s a flavor-packed, crunchy delight that transforms simple beans into something you’ll want to keep around all year.
Honestly, it’s the kind of recipe that makes you pause and appreciate the humble bean in a whole new way — a little gift from the garden that’s just waiting to be discovered.
What Ingredients You Will Need
This recipe uses straightforward, wholesome ingredients to deliver bold flavor and that satisfying crunch without any hassle. Most are pantry staples or fresh from your garden, and substitutions are easy if you want to tweak things.
- Fresh green beans: about 1 pound (450 g), washed and trimmed; smaller and thinner beans work best for crispness
- Garlic cloves: 4-6 large cloves, peeled and lightly crushed (key for that punchy garlic flavor)
- Fresh dill sprigs: 4-5 sprigs, including some leaves; you can also add dill seeds for an extra herbal note
- White vinegar: 2 cups (480 ml), 5% acidity recommended for best pickling results
- Water: 2 cups (480 ml) – balances the vinegar intensity
- Kosher salt: 1 tablespoon; if using table salt, reduce slightly
- Granulated sugar: 1 tablespoon (optional, adds a touch of sweetness to soften the brine)
- Black peppercorns: 1 teaspoon, whole
- Red pepper flakes: ¼ teaspoon (optional, for a subtle heat)
For best results, I recommend using a trusted brand of white vinegar like Heinz or Bragg’s raw apple cider vinegar as an alternative if you prefer a milder tang. If you want to make this recipe gluten-free or paleo-friendly, just double-check your salt and vinegar labels — most are naturally good to go.
In summer, when fresh beans are abundant, this recipe shines brightest. But if fresh beans aren’t available, you could try the same brine with blanched green beans or even green beans from a farmer’s market. For a twist, swapping fresh dill with tarragon or adding a bay leaf can be interesting — though garlic is the star here.
Equipment Needed
- Mason jars: Two 16-ounce (500 ml) jars work perfectly for this amount; make sure they’re clean and sterilized for safe pickling
- Large saucepan: For heating the brine mixture
- Tongs or chopsticks: Helpful for packing beans into jars without bruising them
- Measuring cups and spoons: For precise brine ratios
- Cutting board and knife: To trim the beans and crush garlic
If you don’t have mason jars, any clean, heatproof glass container with a tight lid will do — just keep in mind that jars with wide mouths make packing easier. I’ve tried using plastic containers, but for long-term storage, glass is definitely better. When sterilizing jars, I usually run them through the dishwasher or boil them briefly — simple but effective.
Preparation Method
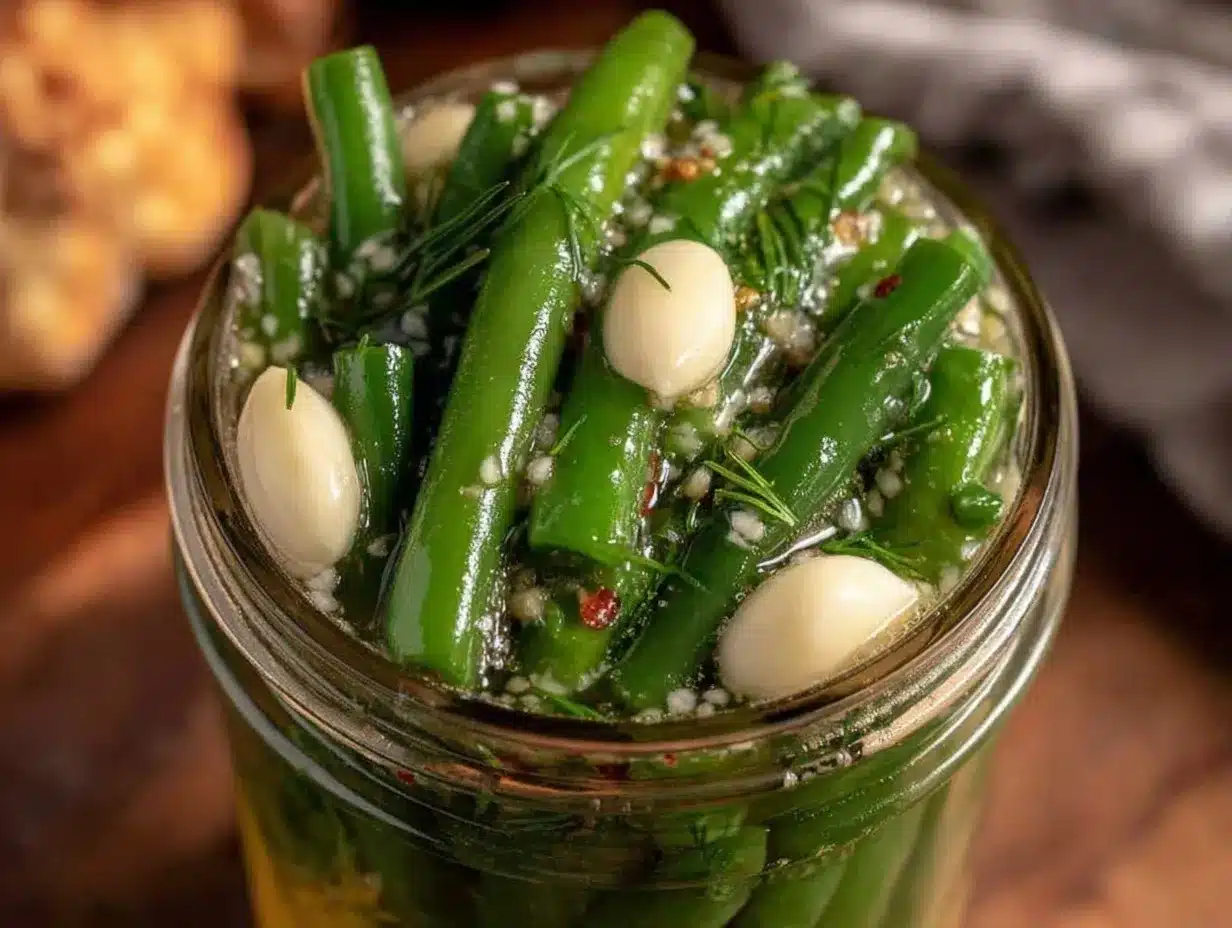
- Prepare the beans: Rinse 1 pound (450 g) fresh green beans and trim the ends. You want the beans to be about 3-4 inches (7-10 cm) long so they fit nicely into your jars without bending too much. This helps keep that satisfying crunch.
- Pack the jars: Place 2-3 crushed garlic cloves and 2 sprigs of fresh dill in each sterilized 16-ounce (500 ml) jar. Add ½ teaspoon black peppercorns and a pinch of red pepper flakes if using. Then pack the green beans vertically, pressing them gently but firmly so they fit snugly.
- Make the brine: In a large saucepan, combine 2 cups (480 ml) white vinegar, 2 cups (480 ml) water, 1 tablespoon kosher salt, and 1 tablespoon granulated sugar. Bring the mixture to a boil, stirring occasionally to dissolve salt and sugar completely. Once boiling, remove from heat.
- Pour the brine: Carefully pour the hot brine over the beans in each jar, leaving about ½ inch (1.3 cm) of headspace at the top. Use a clean utensil to poke around the beans to release any trapped air bubbles.
- Seal and cool: Wipe the rims of the jars with a clean cloth, screw on the lids tightly, and let the jars cool to room temperature. Once cooled, place them in the refrigerator.
- Wait and taste: The beans will be ready to enjoy after about 5 days of pickling. The longer they sit, the more flavorful they become — up to 2 weeks is ideal for maximum garlicky, dill-infused goodness.
Quick tip: If you want a slightly softer bean, you can blanch them for 1-2 minutes in boiling water before packing. But honestly, I prefer that fresh crunch straight from the garden. Just be sure to cool them immediately in ice water to stop cooking.
Also, avoid overfilling your jars with beans or brine — you want enough liquid to cover everything without bursting the jar lids. When opening the jar for the first time, expect a sharp garlic punch and a fresh, herbal aroma that makes you want to dig right in.
Cooking Tips & Techniques
Working with fresh garden dilly beans for pickling is straightforward, but a few details make all the difference:
- Choosing the beans: Always pick beans that are firm and free from blemishes. Thin, tender beans pickle better and stay crisp longer. If your beans are too thick or woody, they might turn mushy.
- Garlic prep: Crushing the garlic cloves releases their oils and flavor. Don’t skip this step or your brine will lack punch. If you want milder garlic, you can leave cloves whole but pierced with a fork.
- Brine balance: The vinegar-to-water ratio is crucial — too much vinegar can overpower the beans, too little might cause spoilage. This recipe’s 1:1 balance keeps things bright yet mellow.
- Salt type matters: Kosher salt dissolves easily and tastes cleaner than table salt, which can be iodized and give a bitter edge. Always adjust salt amounts based on what you use.
- Jar sterilization: Don’t rush this. Properly sterilized jars prevent bacteria and keep your pickles fresh longer. Running them through the dishwasher’s hottest cycle works well for me.
- Refrigeration: This is a quick refrigerator pickle, not canned for shelf storage. Keep your jars chilled and consume within 2 months for best quality.
I learned the hard way that overcrowding jars leads to soft beans and uneven flavor. Also, letting the brine cool before pouring can result in cloudy pickles and less crispness. Patience here pays off in texture and taste.
Variations & Adaptations
This fresh garden dilly beans recipe is a great base for customizing:
- Spicy dilly beans: Add more red pepper flakes, or toss in a sliced jalapeño for heat lovers.
- Herbal twist: Swap dill for tarragon or fresh thyme for a different herbal profile.
- Low-sodium version: Reduce salt to ½ tablespoon and increase pickling time slightly to compensate.
- Vinegar swap: Try apple cider vinegar for a fruitier brine or rice vinegar for a milder tang, adjusting sugar to taste.
- Roasted garlic flavor: Use roasted garlic cloves instead of raw for a deeper, sweeter garlic note.
One variation I love is adding a few slices of fresh lemon peel into the jar for a bright citrus kick — it pairs wonderfully with creamy dips like the roasted red pepper hummus. It’s a simple change but shifts the flavor profile in a refreshing way.
Serving & Storage Suggestions
These fresh garden dilly beans are best served cold or at room temperature. They make a fantastic crunchy snack on their own or a tangy side that cuts through rich dishes. Here are a few ideas:
- Serve alongside a cheese board or charcuterie tray for a garlicky, herbal pop.
- Add chopped dilly beans to salads or potato salad for extra crunch and acidity.
- Use them as a zesty topping for sandwiches and burgers.
- Pair with hearty dishes like red wine braised short ribs to brighten up the plate.
Store the sealed jars in the refrigerator and consume within 6-8 weeks. The beans will keep their texture and flavor best during this time. If you notice any off smell or cloudiness beyond this, it’s safer to discard.
When reheating meals that include these beans, add them fresh afterward to maintain the crispness. Flavors develop further after a few days in the fridge, so don’t hesitate to make a batch ahead of time.
Nutritional Information & Benefits
This recipe is naturally low in calories and fat, making it a guilt-free snack or condiment. Here’s a rough estimate per ½ cup (120 ml) serving:
| Calories | Carbohydrates | Fiber | Sodium |
|---|---|---|---|
| 25 | 5g | 2g | 450mg |
Green beans provide vitamin C, vitamin K, and antioxidants, while garlic adds immune-boosting properties. The vinegar helps with digestion and blood sugar regulation, making this a smart addition to your diet.
Do note the sodium content can be high due to the brine, so enjoy these pickles in moderation if you’re watching salt intake. The recipe is naturally gluten-free and vegan.
Conclusion
This fresh garden dilly beans pickled in garlic brine recipe has become my go-to for turning a simple garden vegetable into something truly special. It’s easy, reliable, and the flavor balance is just right — tangy, garlicky, and herbaceous with a satisfying crunch every time. I love how it brings a little homemade magic to everyday meals and snacks.
Feel free to make it your own by adjusting garlic levels, herbs, or heat. Once you make your first batch, you’ll understand why this recipe has stuck with me — it’s one of those rare homemade pickles that genuinely tastes better than store-bought. Plus, it pairs beautifully with dishes like creamy herb and garlic cheese ball bites for a party or casual gathering.
Give it a try and see how fresh garden dilly beans pickled in garlic brine can brighten your kitchen and your palate.
FAQs
Can I use frozen green beans for this recipe?
Frozen beans tend to be softer and less crisp, so they’re not ideal for pickling. If you only have frozen, thaw and dry them well, but expect a softer texture.
How long do pickled dilly beans last in the fridge?
They’re best eaten within 6-8 weeks for optimal crunch and flavor. Always check for off smells or mold before eating.
Do I need to blanch the beans before pickling?
Blanching is optional. Raw beans give a crisper texture, but blanching for 1-2 minutes can soften them slightly if you prefer.
Can I can these dilly beans for shelf storage?
This recipe is designed as a quick refrigerator pickle. Proper canning requires a tested pressure canning method to ensure safety.
What if I don’t have fresh dill — can I use dried?
Fresh dill gives the best flavor and aroma. Dried dill can be used in a pinch but add it sparingly as it’s more concentrated and less vibrant.
Pin This Recipe!
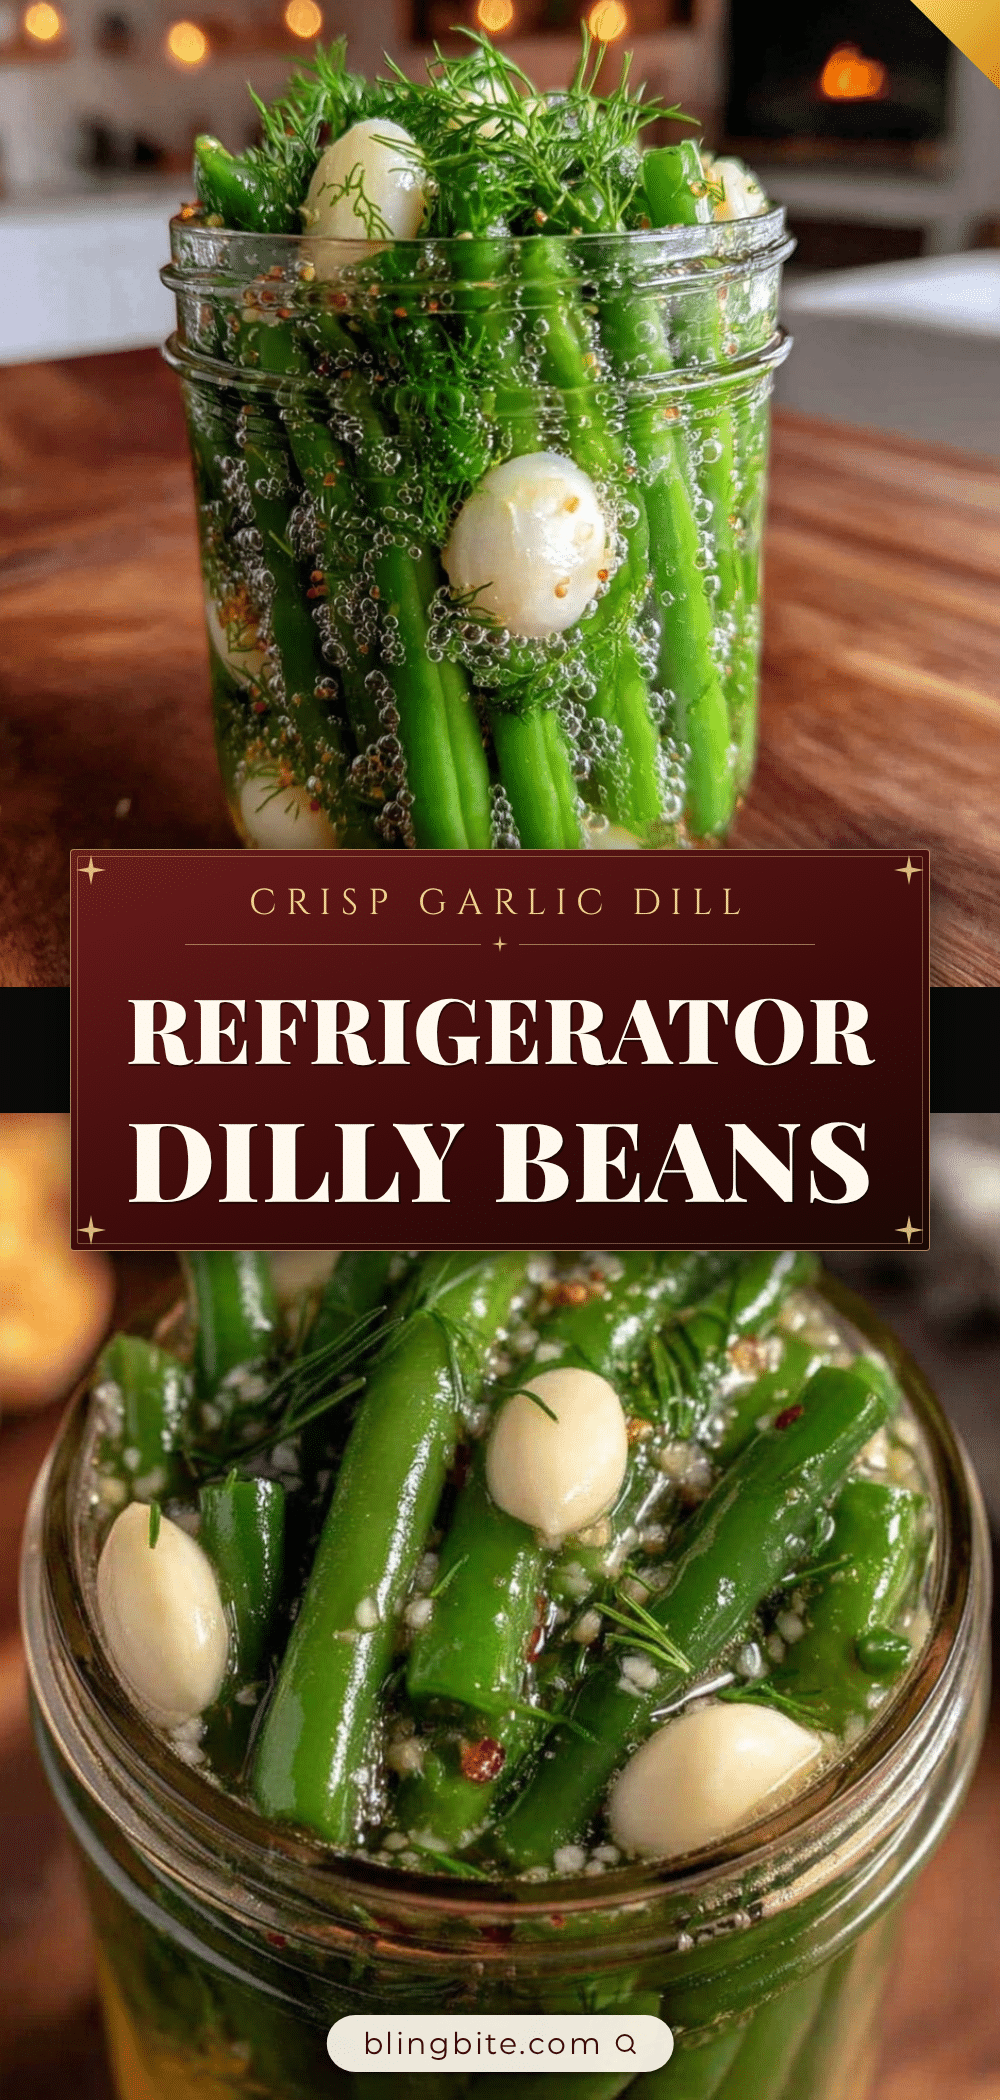
Fresh Garden Dilly Beans Pickled in Garlic Brine
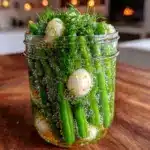
Crunchy fresh green beans pickled in a tangy garlic and dill brine, perfect as a snack, condiment, or addition to meals. This easy homemade recipe captures the brightness of summer with a satisfying garlicky punch.
- Prep Time: 15 minutes
- Cook Time: 10 minutes
- Total Time: 5 days 25 minutes
- Yield: 2 jars (about 4 servings) 1x
- Category: Condiment
- Cuisine: American
Ingredients
- 1 pound fresh green beans, washed and trimmed
- 4–6 large garlic cloves, peeled and lightly crushed
- 4–5 fresh dill sprigs, including some leaves
- 2 cups white vinegar (5% acidity recommended)
- 2 cups water
- 1 tablespoon kosher salt
- 1 tablespoon granulated sugar (optional)
- 1 teaspoon whole black peppercorns
- 1/4 teaspoon red pepper flakes (optional)
Instructions
- Rinse 1 pound fresh green beans and trim the ends to about 3-4 inches long.
- Place 2-3 crushed garlic cloves and 2 sprigs of fresh dill in each sterilized 16-ounce jar. Add 1/2 teaspoon black peppercorns and a pinch of red pepper flakes if using.
- Pack the green beans vertically into the jars, pressing gently but firmly.
- In a large saucepan, combine 2 cups white vinegar, 2 cups water, 1 tablespoon kosher salt, and 1 tablespoon granulated sugar. Bring to a boil, stirring to dissolve salt and sugar, then remove from heat.
- Pour the hot brine over the beans in each jar, leaving about 1/2 inch headspace. Use a utensil to release trapped air bubbles.
- Wipe jar rims clean, screw on lids tightly, and let jars cool to room temperature.
- Place jars in the refrigerator and let pickle for at least 5 days before eating. Flavor improves up to 2 weeks.
Notes
For a softer bean, blanch for 1-2 minutes in boiling water and cool immediately in ice water before packing. Use smaller, tender beans for best texture. Keep jars refrigerated and consume within 6-8 weeks. Avoid overcrowding jars to maintain crispness. Crushing garlic cloves releases more flavor.
Nutrition
- Serving Size: 1/2 cup (120 ml)
- Calories: 25
- Sugar: 1
- Sodium: 450
- Carbohydrates: 5
- Fiber: 2
- Protein: 1
Keywords: dilly beans, pickled green beans, garlic brine, homemade pickles, garden beans, easy pickling recipe, crunchy pickles