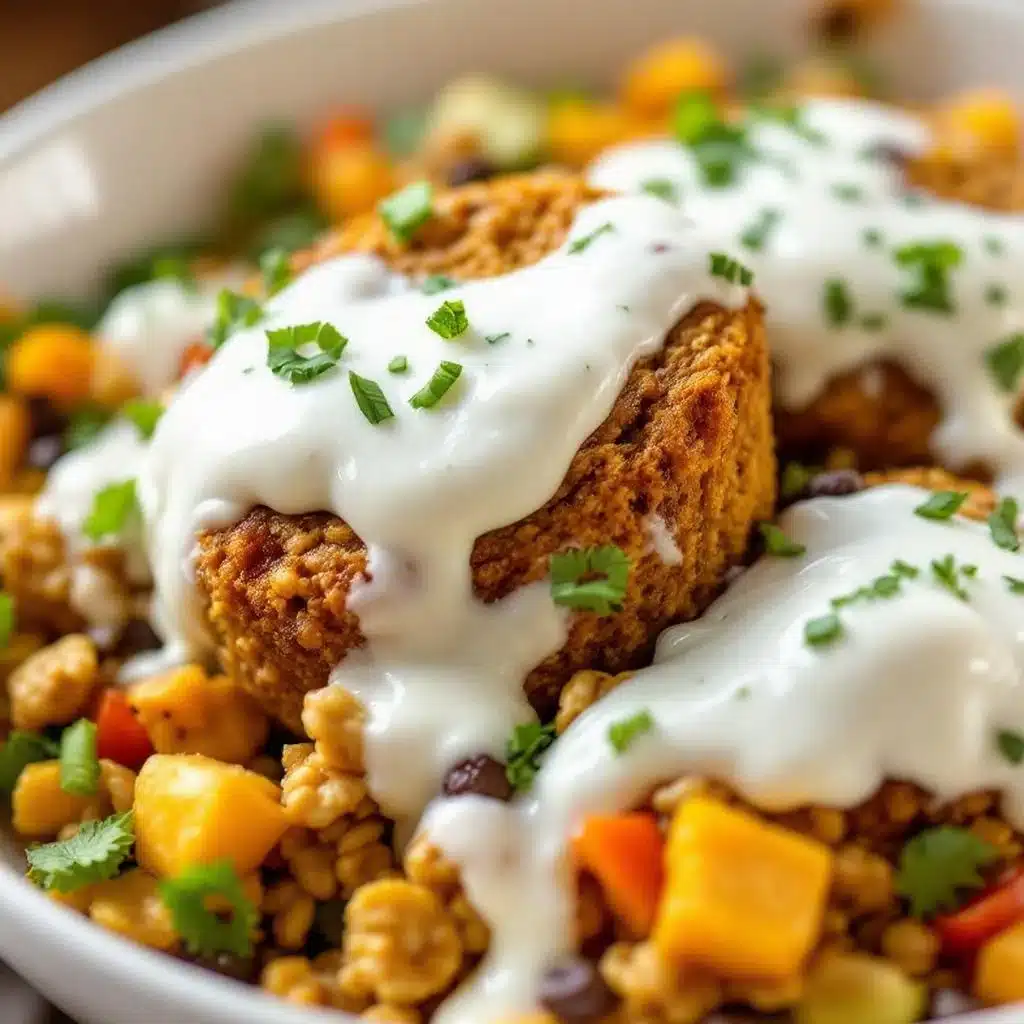
I pulled the last muffin out of the lunchbox, and my daughter actually stopped mid-sentence. “Wait, are those the pumpkin ones?” She had already eaten two. I just nodded. She didn’t say anything else, but she didn’t have to. That quiet pause, that little moment of recognition, is honestly why I keep making them.
These Healthy Pumpkin Oat Muffins with Greek Yogurt weren’t born out of some grand kitchen experiment. They came from a very practical, slightly desperate place. I had half a can of pumpkin puree staring at me from the fridge, a container of Greek yogurt about to hit its expiration date, and a Tuesday morning that needed to feel a little less ordinary. I wanted something that tasted like a treat but didn’t leave me crashing by 10 AM. You know the feeling.
The first batch was good. The second batch was better. By the third, I stopped tweaking. The oats give them this hearty, satisfying chew, the pumpkin keeps them impossibly moist, and the Greek yogurt—that’s the secret weapon. It adds a subtle tang and a protein boost that makes these muffins feel like actual food, not just empty calories. They’re not too sweet, not too dense, and they have this way of making your kitchen smell like a cozy fall morning, even if it’s technically still summer outside.
I’ve made these for sick friends, for school bake sales, and for those mornings when I need breakfast to be ready before my brain is. They always deliver. It’s a simple recipe, but sometimes the simplest ones are the ones you keep coming back to.
Why You’ll Love This Recipe
Let’s be real—there are a million pumpkin muffin recipes out there. What makes this one different is that it actually works for real life. I’ve tested it more times than I care to admit, and here’s what I’ve learned: these muffins are the rare kind that check every box without making you feel like you’re eating a health-food compromise.
- Quick & Easy: From start to finish, you’re looking at about 30 minutes. One bowl, no mixer required. That’s a win on any morning.
- Simple Ingredients: You probably have most of this stuff already. Oats, pumpkin, yogurt, eggs, a little sweetener. No weird flours or specialty items.
- Perfect for Meal Prep: These muffins actually get better after a day in the fridge. Make a batch on Sunday, and you’ve got breakfast sorted for half the week.
- Crowd-Pleaser: I’ve served these to picky toddlers, health-conscious friends, and my dad who swears he doesn’t like “healthy stuff.” They all disappear.
- Unbelievably Delicious: The texture is what gets people. They’re tender but sturdy, moist without being gummy, and the oats add this lovely rustic chew.
What really sets this recipe apart is the yogurt. Most pumpkin muffin recipes rely on oil or butter for moisture. Using Greek yogurt instead gives you that same tender crumb but with way more protein and a fraction of the fat. It’s one of those swaps that sounds like a compromise but actually makes the muffin better. The tanginess plays off the sweetness of the pumpkin in a way that feels intentional, not accidental.
This isn’t just another healthy muffin. It’s the one you’ll actually want to eat, the one that makes you feel good without making you feel deprived. That’s a pretty rare thing in my book.
What Ingredients You Will Need
This recipe keeps things refreshingly simple. You don’t need a trip to a specialty store or a pantry full of obscure ingredients. Everything here is straightforward, and each component plays a specific role in creating that perfect texture and flavor.
- Rolled Oats (2 cups / 180g): These are the backbone of the muffin. I prefer old-fashioned rolled oats over quick oats because they give a better, chewier texture. If you only have quick oats, they’ll work, but the muffin will be a bit softer. I use Bob’s Red Mill most of the time, but any brand works fine.
- Pumpkin Puree (1 cup / 245g): Make sure you’re getting pure pumpkin puree, not pumpkin pie filling. The pie filling has added sugar and spices that will throw off the balance. Libby’s is my go-to, but store brands are usually just as good. If you’re feeling ambitious, you can roast and puree your own pumpkin, but honestly, canned is perfectly fine here.
- Plain Greek Yogurt (1/2 cup / 120g): Full-fat or 2% Greek yogurt works best for moisture and richness. Non-fat will work, but the muffins will be slightly less tender. I use Fage or Chobani. The tanginess is key—it balances the sweetness and keeps the muffins from tasting flat.
- Large Eggs (2): Room temperature eggs incorporate better into the batter. If you forget to take them out ahead of time, just place them in a bowl of warm water for 5 minutes.
- Honey or Maple Syrup (1/3 cup / 80ml): Either works beautifully. Honey gives a slightly floral sweetness, while maple syrup adds a deeper, earthier note. I’ve used both, and I honestly can’t pick a favorite. If you’re vegan, maple syrup is the way to go.
- Coconut Oil or Unsalted Butter (3 tablespoons, melted): This adds a little richness and helps with browning. Coconut oil keeps things dairy-free and adds a subtle flavor that pairs nicely with pumpkin. Butter gives a more classic muffin taste. Both are great.
- Vanilla Extract (1 teaspoon): Pure vanilla extract is worth it here. It rounds out all the flavors and makes everything taste a little more special.
- Pumpkin Pie Spice (2 teaspoons): If you don’t have pumpkin pie spice, you can make your own with 1 teaspoon cinnamon, 1/2 teaspoon ginger, 1/4 teaspoon nutmeg, and 1/4 teaspoon cloves. I’ve done this plenty of times when I’ve run out.
- Baking Soda (1 teaspoon): This is the leavening agent that gives the muffins their rise. Make sure it’s fresh—old baking soda won’t do much.
- Salt (1/4 teaspoon): A little salt enhances all the flavors and keeps the muffins from tasting flat. Don’t skip it.
- Optional Add-ins (1/2 cup): Chocolate chips, chopped nuts, or dried cranberries are all excellent. I usually add dark chocolate chips because, well, chocolate. But toasted pecans are a close second.
Equipment Needed
You don’t need a fancy kitchen to make these muffins. Here’s what you’ll actually use:
- Muffin Tin: A standard 12-cup muffin tin is what I use. If you have a non-stick one, great. If not, just make sure to line it well.
- Paper Muffin Liners: These make cleanup a breeze. I prefer unbleached parchment liners because they don’t stick as much as regular paper ones.
- Large Mixing Bowl: One bowl is all you need. No need to dirty extra dishes.
- Whisk and Rubber Spatula: A whisk for the wet ingredients, a spatula for folding everything together.
- Measuring Cups and Spoons: Accurate measurements matter, especially with the oats and pumpkin.
- Ice Cream Scoop or Large Spoon: For evenly portioning the batter into the muffin cups. An ice cream scoop makes this so much easier and gives you uniform muffins.
- Cooling Rack: Letting the muffins cool properly prevents them from getting soggy on the bottom. If you don’t have one, you can use a cutting board, but a rack is better.
Honestly, you could get away with just a bowl, a spoon, and a muffin tin. I’ve done it. The muffins still turn out great.
Preparation Method
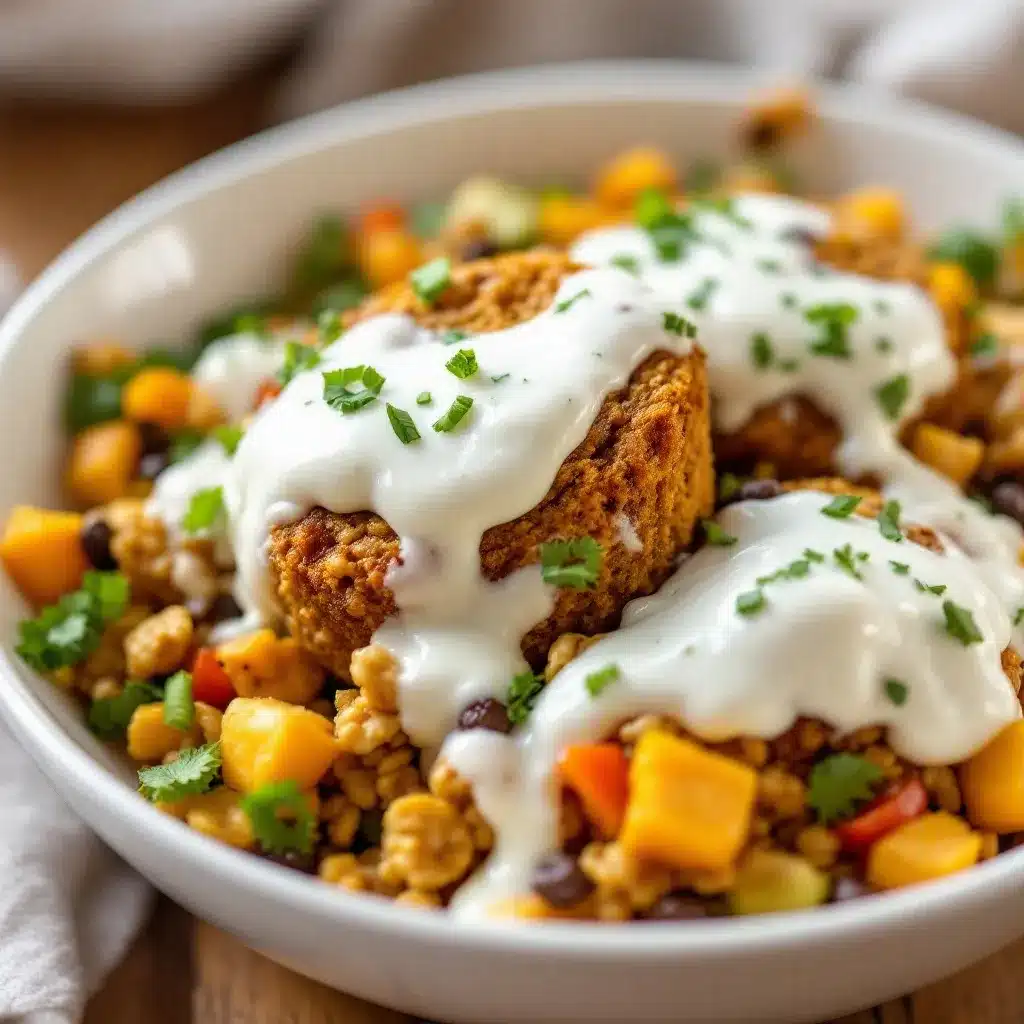
Let’s get to the good part. This is straightforward, but I’ll walk you through each step so you know exactly what to look for.
- Preheat your oven to 350°F (175°C). Line a 12-cup muffin tin with paper liners or lightly grease the cups. I like to get this done first so the oven is ready when the batter is.
- In a large bowl, whisk together the eggs, Greek yogurt, pumpkin puree, honey (or maple syrup), melted coconut oil (or butter), and vanilla extract. Whisk until everything is smooth and well combined. The mixture should look thick and creamy, with a beautiful orange color. Don’t worry if there are a few tiny lumps—they’ll smooth out.
- Add the rolled oats, pumpkin pie spice, baking soda, and salt. Stir with a rubber spatula until just combined. The batter will be thick and chunky, almost like a cookie dough. That’s exactly what you want. Overmixing at this stage will make the muffins tough, so stop as soon as you don’t see any dry flour or oats.
- If you’re using add-ins, fold them in now. I usually go for dark chocolate chips, but chopped pecans or dried cranberries are lovely too. Fold gently, just a few turns of the spatula.
- Divide the batter evenly among the 12 muffin cups. An ice cream scoop or a large spoon works well. Fill each cup almost to the top—these muffins don’t rise dramatically, so you want a generous amount of batter in each one. The batter will be thick, so use the back of the scoop or a spoon to spread it out a little.
- Bake for 18-22 minutes. The exact time depends on your oven, so start checking at 18 minutes. The muffins are done when a toothpick inserted into the center comes out clean or with just a few moist crumbs. The tops should be golden brown and spring back when lightly pressed.
- Let the muffins cool in the pan for 5 minutes. This allows them to set up properly. Then transfer them to a cooling rack to cool completely. If you skip this step, the bottoms can get soggy.
A few things to watch for: If your batter seems too thick, that’s normal. The oats absorb moisture as they sit, so don’t be tempted to add extra liquid. If your muffins are browning too quickly on top but aren’t done in the center, tent them loosely with foil for the last few minutes of baking. I’ve had to do this with a particularly feisty oven, and it works like a charm.
Cooking Tips & Techniques
I’ve made these muffins more times than I can count, and I’ve definitely made my share of mistakes along the way. Here’s what I’ve learned so you don’t have to repeat my errors.
Don’t overmix the batter. This is the number one mistake people make with any muffin recipe. Overmixing develops the gluten in the oats (yes, oats have gluten-like proteins), which makes the muffins tough and dense. Stir just until everything comes together. A few streaks of flour are fine.
Let the batter rest for 10 minutes before baking. This is a trick I picked up from a pastry chef friend. Letting the batter sit allows the oats to absorb some of the liquid, which gives you a more tender, evenly textured muffin. It also helps the flavors meld together. I do this every time now.
Use room temperature ingredients. Cold eggs or yogurt can cause the melted coconut oil to seize up, leaving you with lumpy batter. Take everything out of the fridge about 20 minutes before you start. If you’re short on time, place the eggs in a bowl of warm water for 5 minutes.
Measure your oats correctly. Scooping oats directly from the bag can pack them down, giving you way more than you need. Instead, spoon the oats into your measuring cup and level it off with a knife. This ensures you’re getting the right amount.
Check your baking soda. If your muffins don’t rise at all, your baking soda might be old. To test it, drop a little bit into a bowl of vinegar. If it fizzes vigorously, it’s still good. If not, time for a new box.
Don’t overbake. These muffins go from perfectly moist to dry pretty quickly. Start checking at 18 minutes. The toothpick test is your friend here. A few moist crumbs are fine—you don’t want a completely clean toothpick, as that usually means the muffins are overdone.
I once forgot the baking soda entirely. The muffins came out like dense, sad hockey pucks. Still edible, but not exactly something you’d want to serve to company. Learn from my mistake and double-check your ingredients before you start.
Variations & Adaptations
This recipe is wonderfully forgiving and adaptable. Here are some ways to make it your own.
Gluten-Free Version: Use certified gluten-free rolled oats. That’s literally the only change you need to make. The muffins will have a slightly different texture—a bit more crumbly—but they’re still delicious. I’ve made this for a gluten-sensitive friend, and she couldn’t tell the difference.
Vegan Version: Replace the eggs with flax eggs (2 tablespoons ground flaxseed mixed with 6 tablespoons water, let sit for 5 minutes). Use maple syrup instead of honey, and make sure your chocolate chips are dairy-free. The texture will be a bit denser, but still very good.
Lower Sugar Option: Cut the honey or maple syrup down to 1/4 cup. The muffins will be less sweet, but the pumpkin and spices are flavorful enough to carry it. I’ve done this for my mom, who watches her sugar intake, and she loved them.
Nutty Crunch: Fold in 1/2 cup of toasted chopped pecans or walnuts. Toasting the nuts first really brings out their flavor. Just spread them on a baking sheet and bake at 350°F for 5-7 minutes until fragrant.
Apple Pumpkin Twist: Fold in 1/2 cup of finely diced apple (I like Honeycrisp or Granny Smith). The apple adds little bursts of sweetness and moisture. This is my personal favorite variation for late fall.
Savory-ish Version: Reduce the sweetener to 2 tablespoons, skip the pumpkin pie spice, and add 1 teaspoon of dried rosemary and 1/2 cup of shredded sharp cheddar cheese. It sounds strange, but the combination of pumpkin, rosemary, and cheddar is surprisingly good. I made these for a brunch once, and they were the first thing to disappear.
Don’t be afraid to experiment. The base recipe is solid enough to handle a lot of tweaking. If something doesn’t work out perfectly, you’ll know for next time.
Serving & Storage Suggestions
These muffins are incredibly versatile when it comes to serving. They’re great warm, at room temperature, or even straight from the fridge. Here’s how I like to enjoy them.
Serving: For a cozy breakfast, I’ll warm a muffin in the microwave for about 15 seconds and spread it with a little butter or almond butter. It’s also lovely with a dollop of Greek yogurt and a drizzle of honey on top. For an afternoon snack, I’ll grab one cold with a cup of coffee. They’re sturdy enough to pack in a lunchbox without falling apart.
Storage: Store the muffins in an airtight container at room temperature for up to 3 days. If your kitchen is warm or humid, I’d recommend refrigerating them. They’ll keep in the fridge for up to a week. I actually think they get better after a day or two—the flavors have time to meld, and the texture becomes even more tender.
Freezing: These muffins freeze beautifully. Let them cool completely, then place them in a single layer in a freezer-safe bag or container. They’ll keep for up to 3 months. To thaw, just leave one out at room temperature for about an hour, or microwave it for 20-30 seconds. I always keep a stash in the freezer for busy mornings.
Reheating: The best way to reheat a muffin is in the oven or toaster oven at 300°F for about 5 minutes. This brings back the crisp edges and warm center. The microwave works in a pinch, but it can make the muffin a bit soft.
If you’re serving these at a brunch or gathering, arrange them on a nice platter with a little sign. They’re not the prettiest muffins in the world—they have a rustic, homey look—but they always get compliments.
Nutritional Information & Benefits
Here’s the estimated nutritional breakdown for one muffin (based on the base recipe without add-ins). Keep in mind these are approximate values and can vary based on specific ingredients and portion sizes.
| Nutrient | Amount per Muffin |
|---|---|
| Calories | 175 |
| Total Fat | 6g |
| Saturated Fat | 4g |
| Cholesterol | 35mg |
| Sodium | 180mg |
| Total Carbohydrates | 26g |
| Dietary Fiber | 3g |
| Sugars | 9g |
| Protein | 6g |
The protein content is what really sets these apart from standard muffins. Thanks to the Greek yogurt and eggs, each muffin packs 6 grams of protein, which helps keep you full and satisfied. The oats provide complex carbohydrates and fiber for steady energy, while the pumpkin is loaded with vitamin A and antioxidants.
These muffins are naturally nut-free (unless you add nuts), and they can easily be made gluten-free or vegan as I mentioned earlier. They’re a great option for anyone looking for a balanced breakfast or snack that doesn’t taste like a compromise.
I love that I can feel good about feeding these to my family. They’re not just empty carbs—they actually have some nutritional substance. And they taste good enough that no one complains about eating “healthy” muffins.
Conclusion
These Healthy Pumpkin Oat Muffins with Greek Yogurt have become a staple in my kitchen for a reason. They’re simple, they’re forgiving, and they deliver every single time. Whether you need a quick breakfast for a busy morning, a snack to pack in a lunchbox, or something to bring to a fall gathering, these muffins have you covered.
The best part is that they’re completely adaptable. Make them sweeter or less sweet. Add chocolate chips or nuts or dried fruit. Turn them into a savory version with cheese and herbs. The base recipe is so solid that you can play around without worrying about ruining anything. I love recipes that give me that kind of freedom.
I’d love to hear how these turn out for you. Did you add something unexpected? Did you make a substitution that worked beautifully? Drop a comment below and let me know. And if you’re looking for another cozy fall recipe, I’ve got a roasted butternut squash soup that pairs perfectly with these muffins for a full autumn meal. Or try my savory butternut squash galette for something a little more special.
Happy baking, friends. I hope these muffins bring a little warmth and comfort to your kitchen.
Frequently Asked Questions
Can I use quick oats instead of rolled oats?
Yes, you can. Quick oats will work, but the texture of the muffins will be softer and less chewy. Rolled oats give a better, more satisfying texture. If you only have quick oats, go ahead and use them—the muffins will still be delicious.
Can I make these muffins dairy-free?
Absolutely. Use a dairy-free Greek yogurt alternative (like coconut or soy-based), and replace the butter with coconut oil or a dairy-free butter substitute. The muffins will turn out just as moist and flavorful.
Why did my muffins turn out dry?
Dry muffins are usually the result of overbaking or overmeasuring the oats. Make sure you’re spooning the oats into your measuring cup rather than scooping them directly. Also, start checking for doneness at 18 minutes. Every oven is different, and a minute or two can make a big difference.
Can I use canned pumpkin pie filling instead of pumpkin puree?
I wouldn’t recommend it. Pumpkin pie filling has added sugar and spices that will throw off the balance of the recipe. Stick with pure pumpkin puree for the best results. You’ll have more control over the sweetness and spice levels.
How do I make these muffins more moist?
If you find the muffins a bit dry for your taste, try adding an extra tablespoon of Greek yogurt or reducing the bake time by a minute or two. You can also brush the tops with a little melted butter or coconut oil right after they come out of the oven. That adds moisture and a beautiful shine.
Pin This Recipe!
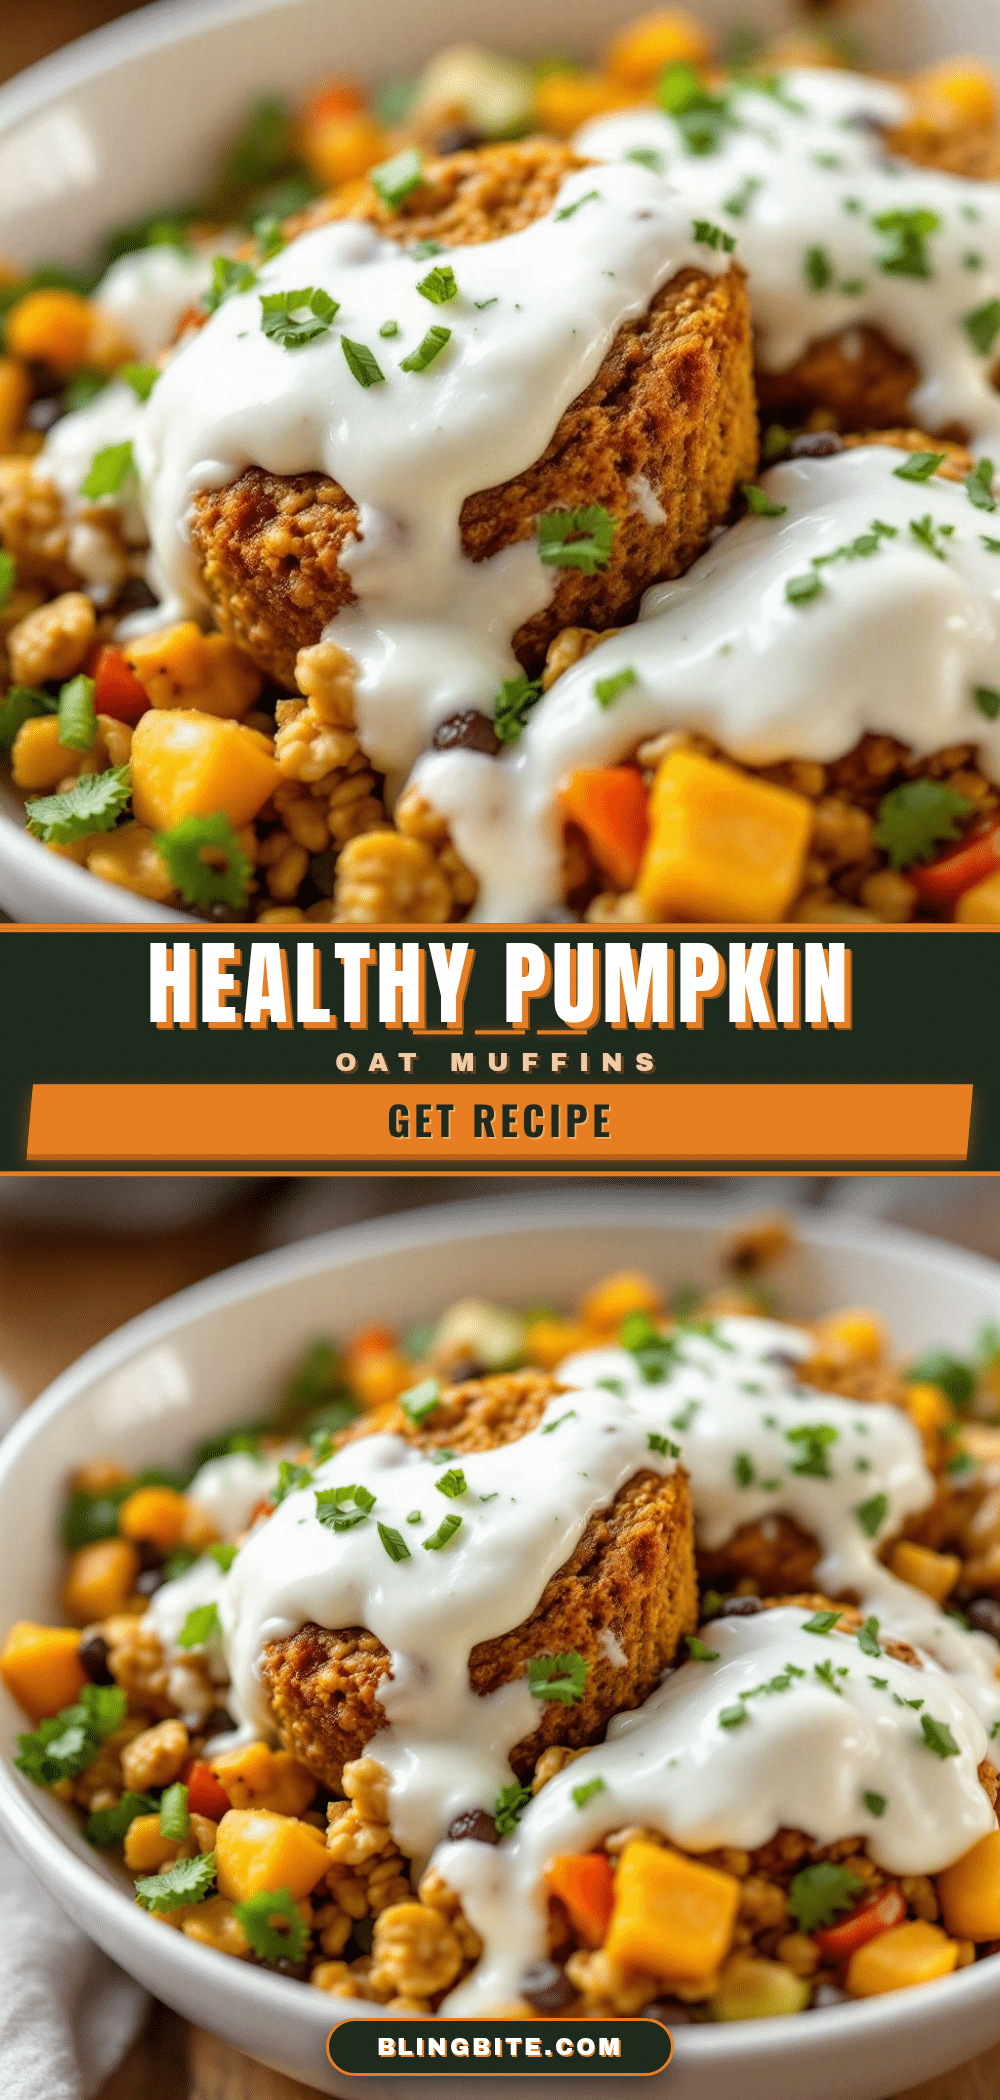
Healthy Pumpkin Oat Muffins Recipe: Easy Greek Yogurt

These Healthy Pumpkin Oat Muffins with Greek Yogurt are hearty, moist, and packed with protein. Made with simple ingredients like oats, pumpkin, and yogurt, they’re a perfect quick breakfast or snack that tastes like a treat without the guilt.
- Prep Time: 10 minutes
- Cook Time: 20 minutes
- Total Time: 30 minutes
- Yield: 12 muffins 1x
- Category: Breakfast
- Cuisine: American
Ingredients
- 2 cups (180g) rolled oats
- 1 cup (245g) pumpkin puree (not pumpkin pie filling)
- 1/2 cup (120g) plain Greek yogurt (full-fat or 2%)
- 2 large eggs, room temperature
- 1/3 cup (80ml) honey or maple syrup
- 3 tablespoons melted coconut oil or unsalted butter
- 1 teaspoon vanilla extract
- 2 teaspoons pumpkin pie spice
- 1 teaspoon baking soda
- 1/4 teaspoon salt
- 1/2 cup optional add-ins: chocolate chips, chopped nuts, or dried cranberries
Instructions
- Preheat your oven to 350°F (175°C). Line a 12-cup muffin tin with paper liners or lightly grease the cups.
- In a large bowl, whisk together the eggs, Greek yogurt, pumpkin puree, honey (or maple syrup), melted coconut oil (or butter), and vanilla extract until smooth and creamy.
- Add the rolled oats, pumpkin pie spice, baking soda, and salt. Stir with a rubber spatula until just combined. The batter will be thick and chunky. Do not overmix.
- If using add-ins, fold them in gently with a few turns of the spatula.
- Divide the batter evenly among the 12 muffin cups, filling each almost to the top. Use the back of a spoon or scoop to spread the batter if needed.
- Bake for 18-22 minutes, or until a toothpick inserted into the center comes out clean or with a few moist crumbs. The tops should be golden brown and spring back when lightly pressed.
- Let the muffins cool in the pan for 5 minutes, then transfer to a cooling rack to cool completely.
Notes
For best results, let the batter rest for 10 minutes before baking to allow oats to absorb liquid. Use room temperature ingredients to prevent coconut oil from seizing. Don’t overmix the batter to avoid tough muffins. Start checking for doneness at 18 minutes to prevent overbaking. Muffins can be stored in an airtight container at room temperature for up to 3 days, refrigerated for up to a week, or frozen for up to 3 months.
Nutrition
- Serving Size: 1 muffin
- Calories: 175
- Sugar: 9
- Sodium: 180
- Fat: 6
- Saturated Fat: 4
- Carbohydrates: 26
- Fiber: 3
- Protein: 6
Keywords: pumpkin muffins, healthy muffins, oat muffins, Greek yogurt muffins, easy breakfast, fall recipes, meal prep muffins


