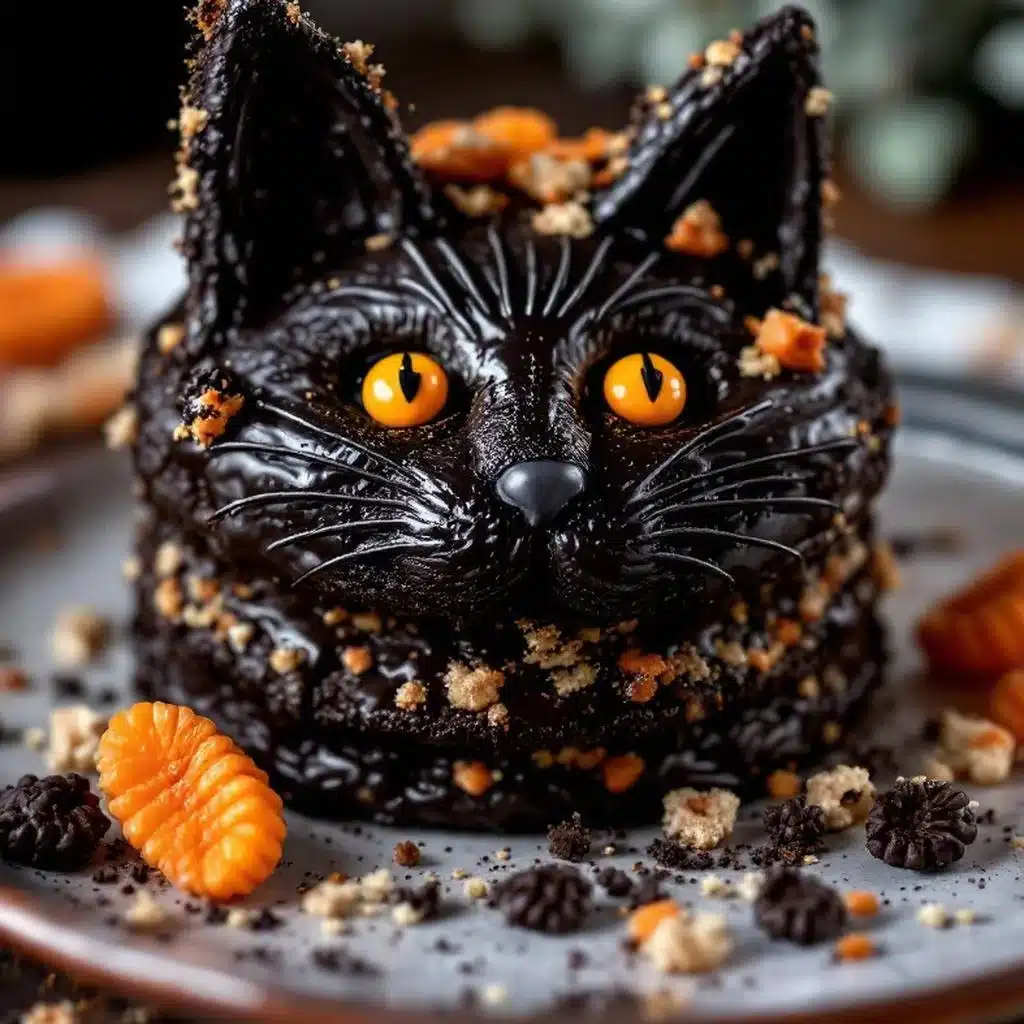
My niece showed up at my door at 7 PM the night before Halloween, costume already on (she was a glow-in-the-dark skeleton, obviously), and announced she wanted to help me bake something for her class party the next morning. The only problem? I had zero Halloween-themed cake pans, no cookie cutters shaped like cats, and honestly, I was running on fumes after a long week. But I had a box of dark cocoa powder, a bag of chocolate chips, and a stubborn refusal to let her down. So I grabbed a sheet pan, poured the thickest, fudgiest cookie dough I could throw together, and decided we were going to make a black cat cookie cake—whether the pan liked it or not.
And you know what? It worked. We piped on some white icing whiskers, added candy corn eyes, and suddenly this flat, dark chocolate cookie cake looked like a proper little black cat staring up at us from the baking sheet. The class party went wild for it, and my niece told me it was “the best Halloween thing ever” (which, coming from a nine-year-old, is basically a Michelin star). That night, I realized I’d accidentally created something worth repeating—a spooky easy black cat Halloween cookie cake that takes almost no special equipment and tastes like a giant, chewy chocolate chip cookie with a crispy edge and a soft center.
This recipe has stuck with me because it solves a real problem: how do you make something festive and fun without running to three different stores for specialty pans? You don’t need them. Just a sheet pan, some patience while the dough chills, and a little bit of piping confidence. It delivers that “wow” factor without the stress, which is exactly what Halloween baking should be about. Trust me—if I can pipe a cat face with a ziplock bag and a pair of scissors, you can too.
Why You’ll Love This Recipe
This spooky easy black cat Halloween cookie cake is the kind of recipe that makes you look like a baking hero without actually having to be one. I’ve tested it three times now (once with my niece, once for a potluck, and once just because I wanted chocolate), and every single time, people assume I spent hours on it. The truth is way less glamorous—and way more doable.
- Quick & Easy: From start to finish, you’re looking at about 45 minutes of active time. The dough needs to chill for 30 minutes, but that’s mostly hands-off. Perfect for those last-minute Halloween cravings or school party emergencies.
- Simple Ingredients: You probably already have everything in your pantry. Dark cocoa powder, butter, sugar, eggs, flour, vanilla—nothing weird. No black food coloring required (the cocoa does the heavy lifting).
- Perfect for Halloween Parties: This cookie cake is a showstopper for classroom celebrations, office potlucks, or even just a fun weekend bake with the kids. It’s festive without being fussy.
- Crowd-Pleaser: Kids love the cat face design, and adults love that it’s basically a giant, chewy chocolate chip cookie. Everyone wins.
- Unbelievably Delicious: The texture is what gets me every time—crispy edges, soft and fudgy center, and that deep dark chocolate flavor that hits just right. It’s comfort food disguised as a craft project.
What makes this version different from other cookie cakes? It’s the technique. I use a combination of melted butter and a brief chilling step to get that perfect balance between chewy and crisp. Plus, the black cat design isn’t just slapped on top—it’s integrated into the baking process so the icing stays put and doesn’t smear. This isn’t just another chocolate cookie cake. It’s the one that makes you close your eyes after the first bite and think, “Okay, I can do this again next year.” Honestly, it’s the kind of recipe that becomes a tradition before you even realize it.
What Ingredients You Will Need
This recipe uses simple, wholesome ingredients to deliver that rich, dark chocolate flavor and perfect cookie texture. No fancy extracts or hard-to-find items—just pantry staples that work together beautifully. Let me walk you through each one.
For the Cookie Cake Base
- Unsalted butter, melted (1 cup / 2 sticks) — Melting the butter instead of creaming it with sugar gives the cookie cake a denser, chewier texture. I use Land O’Lakes because it’s consistent, but any good-quality unsalted butter works. Make sure it’s cooled slightly before mixing so it doesn’t cook the eggs.
- Dark brown sugar, packed (1 cup / 200g) — Brown sugar adds moisture and that subtle molasses flavor that deepens the chocolate. I prefer dark brown sugar here, but light brown works too if that’s what you have.
- Granulated sugar (½ cup / 100g) — A little white sugar helps with spreading and gives the edges that slight crispiness. Don’t skip it—the combo of both sugars is key.
- Large eggs (2, room temperature) — Room temperature eggs incorporate more evenly into the melted butter. If you forgot to take them out, place them in a bowl of warm water for 5 minutes.
- Vanilla extract (2 teaspoons) — Real vanilla makes a difference here. I’m partial to Nielsen-Massey, but store-bought is totally fine. Just avoid imitation vanilla if you can.
- All-purpose flour (2 cups / 250g) — Spoon and level your flour—don’t scoop directly from the bag or you’ll end up with a dry, crumbly cookie cake. Too much flour is the #1 mistake people make.
- Dark cocoa powder (½ cup / 50g) — This is what gives the cookie cake its deep, almost black color. I use Hershey’s Special Dark, but any Dutch-process cocoa will give you that rich color and flavor. Natural cocoa works too, but the color will be more of a dark brown.
- Baking soda (1 teaspoon) — Helps the cookie cake spread just enough without puffing up too much.
- Salt (½ teaspoon) — Don’t skip this. Salt balances the sweetness and makes the chocolate flavor pop.
- Semi-sweet chocolate chips (1 cup / 175g) — I like Ghirardelli for their size and melt quality. You can also use dark chocolate chunks if you prefer bigger pockets of chocolate.
For the Cat Face Decoration
- Powdered sugar (1 cup / 120g) — For the royal icing or simple glaze. Sift it to avoid lumps.
- Meringue powder (1 tablespoon) — Optional but recommended for a stiffer icing that holds its shape. If you don’t have it, use 2 tablespoons of milk instead of water for a softer glaze.
- Water or milk (2-3 tablespoons) — Adjust as needed to reach piping consistency. Add slowly—you can always thin it out, but you can’t take liquid back.
- Black gel food coloring (optional) — If you want the icing to be true black instead of white. I actually prefer white icing on the dark cookie—it pops beautifully.
- Candy corn or yellow M&Ms (2 pieces) — For the eyes. Candy corn gives that classic Halloween look, but yellow M&Ms work just as well.
Equipment Needed
You don’t need a lot of fancy gear for this spooky easy black cat Halloween cookie cake, which is exactly why I love it. Here’s what you’ll need:
- Sheet pan or baking sheet (13×18 inch or similar) — A rimmed baking sheet works best to contain the dough as it spreads. I use a Nordic Ware half-sheet pan because it heats evenly and never warps.
- Parchment paper — Line your pan for easy removal. Silicone baking mats also work, but parchment makes cleanup even easier.
- Large mixing bowl — For the dough. Any bowl works, but a wider bowl makes mixing easier.
- Whisk and rubber spatula — A whisk for combining wet ingredients and a spatula for folding in the flour and chips.
- Piping bag or ziplock bag — For the icing. A ziplock bag with a tiny corner snipped off works perfectly—no need for tips or couplers.
- Small round piping tip (optional) — If you want cleaner lines, a Wilton #3 tip is great for the whiskers and ears.
- Cooling rack — Essential for letting the cookie cake cool completely before icing. If you ice it while it’s warm, the icing will melt into a puddle.
Budget-friendly tip: Don’t have a piping bag? Use a sturdy ziplock freezer bag. It’s what I used the first time, and honestly, I still use it half the time because it’s less cleanup.
Preparation Method
Let’s make this spooky easy black cat Halloween cookie cake step by step. I’ve included all the little details I wish someone had told me the first time.
- Preheat your oven to 350°F (175°C). Line a sheet pan with parchment paper, leaving some overhang on the sides for easy lifting later. Set it aside.
- Melt the butter. In a microwave-safe bowl, melt 1 cup of unsalted butter in 30-second bursts, stirring between each, until just melted. Don’t let it boil—you want it melted, not hot. Let it cool for 5 minutes while you measure your dry ingredients.
- Mix the sugars and butter. In a large bowl, whisk together the melted butter, 1 cup packed dark brown sugar, and ½ cup granulated sugar until smooth and glossy. It should look like wet sand. This takes about a minute of vigorous whisking.
- Add eggs and vanilla. Whisk in the 2 room-temperature eggs one at a time, making sure each is fully incorporated before adding the next. Then add 2 teaspoons of vanilla extract. The mixture should be thick, shiny, and slightly lighter in color.
- Combine dry ingredients. In a separate bowl, whisk together 2 cups all-purpose flour, ½ cup dark cocoa powder, 1 teaspoon baking soda, and ½ teaspoon salt. This ensures the baking soda is evenly distributed—nobody wants a bitter bite of baking soda.
- Fold dry into wet. Add the flour mixture to the butter mixture in two additions, folding gently with a rubber spatula. Stop as soon as you no longer see streaks of flour. Overmixing develops gluten and makes the cookie cake tough.
- Fold in chocolate chips. Add 1 cup semi-sweet chocolate chips and fold just until distributed. The dough will be thick, slightly sticky, and smell incredible.
- Chill the dough. Cover the bowl with plastic wrap and refrigerate for 30 minutes. This step is non-negotiable—chilled dough spreads less and gives you a thicker, chewier cookie cake. While it chills, prepare your icing (see step 12).
- Shape the cookie cake. Transfer the chilled dough to your prepared sheet pan. Using lightly moistened hands (dip your fingers in water to prevent sticking), press the dough into an even layer about ¼-inch thick. Don’t worry about making it perfect—the spreading will smooth things out. Aim for a rough oval or rectangle shape, leaving about 2 inches of space around the edges for spreading.
- Bake. Place the pan on the middle rack and bake for 12-15 minutes. At 12 minutes, the edges should look set and slightly cracked, but the center will still look soft and slightly underdone. That’s exactly what you want. The cookie cake will continue to set as it cools. If you bake it until the center looks fully done, it will be dry.
- Cool completely. Let the cookie cake cool on the pan for 10 minutes, then transfer it (still on the parchment) to a wire rack to cool completely. This usually takes about 45 minutes to an hour. Don’t rush this—warm cookie cake + icing = disaster.
- Make the icing. While the dough chills or the cookie cake cools, make your icing. In a small bowl, whisk together 1 cup sifted powdered sugar, 1 tablespoon meringue powder (if using), and 2 tablespoons water. Add more water, a teaspoon at a time, until the icing is thick but flows slowly from a spoon. It should hold a ribbon for a few seconds before disappearing. Transfer to a piping bag or ziplock bag with a tiny corner snipped off.
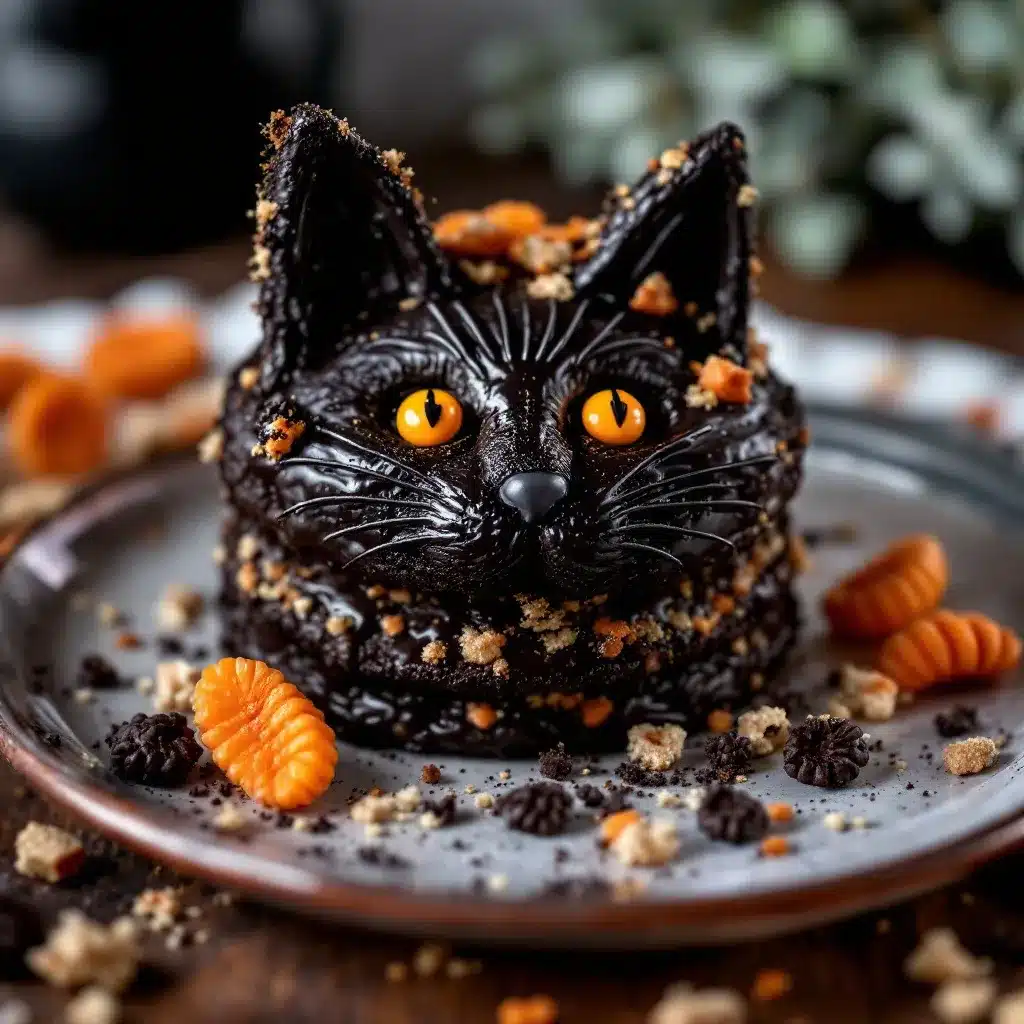
- Pipe the cat face. Once the cookie cake is completely cool, pipe on the cat features. I start with two triangular ears at the top, then two large oval eyes using candy corn or yellow M&Ms placed into wet icing so they stick. Pipe a small nose (an upside-down triangle), a little mouth (a “w” shape), and whiskers (three lines on each side). Don’t overthink it—cats are forgiving subjects.
- Let the icing set. Allow the icing to dry for at least 30 minutes before slicing. This keeps the design intact when you cut into it.
- Slice and serve. Use a sharp knife to cut into squares or wedges. I like to cut around the cat face first to preserve the design, then slice the rest into pieces.
Cooking Tips & Techniques
I’ve made this spooky easy black cat Halloween cookie cake enough times to know where things can go wrong. Here are the tips I’ve collected through trial and error (and a few melted cat faces).
Don’t skip the chill. I know, it’s tempting to skip that 30-minute chill when you’re in a hurry. But I promise you, the difference between chilled dough and room-temperature dough is night and day. Chilled dough spreads less, bakes up thicker, and gives you those gorgeous chewy centers. The first time I made this, I was in a rush and skipped the chill. The cookie cake spread into a thin, crispy mess that looked more like a blob than a cat. Lesson learned.
Use a light hand with the cocoa. Dark cocoa powder is more absorbent than regular cocoa, so if you pack it too tightly into your measuring cup, you’ll end up with a dry, crumbly dough. Spoon it into the cup and level it off with a knife. Same goes for the flour—spoon and level, never scoop.
Test your oven temperature. Ovens run hot or cold more often than you’d think. I use an inexpensive oven thermometer to make sure my oven is actually at 350°F when I bake. If your cookie cake is browning too fast on the edges but still raw in the center, your oven might be running hot. Tent the edges with foil for the last few minutes of baking.
Pipe with confidence. If your piping lines look shaky, don’t worry—you can always smooth them with a toothpick while the icing is still wet. And if you mess up completely, just scrape off the icing and start over. The cookie cake is sturdy enough to handle a do-over.
Multitask like a pro. While the dough chills, make your icing and line up your candy corn eyes. While the cookie cake cools, clean up your workspace. This recipe moves fast once you start, so having everything ready makes the process feel effortless.
Variations & Adaptations
One of the best things about this spooky easy black cat Halloween cookie cake is how easy it is to adapt. Here are a few variations I’ve tried and loved.
Gluten-Free Version: Substitute the all-purpose flour with a 1:1 gluten-free baking flour blend (I like King Arthur Measure for Measure). Add an extra tablespoon of milk or water to the dough since gluten-free flours tend to be more absorbent. The texture will be slightly more tender, but still delicious.
Vegan Adaptation: Use melted coconut oil or vegan butter instead of dairy butter, and substitute each egg with a flax egg (1 tablespoon ground flaxseed + 3 tablespoons water, let sit for 5 minutes). Use dairy-free chocolate chips. The cookie cake will be a bit more delicate, so handle it gently when transferring.
Different Cat Designs: Don’t feel limited to a black cat. Pipe on a white cat face using white icing on a regular chocolate cookie cake, or make a pumpkin-shaped cookie cake using orange gel food coloring in the icing. For a ghost, skip the ears and pipe a wavy bottom edge with two round eyes.
Flavor Twists: Add ½ teaspoon of espresso powder to the dry ingredients for a deeper chocolate flavor. Or swap the semi-sweet chips for white chocolate chips for a striking color contrast. I once added a teaspoon of cinnamon and a pinch of cayenne for a Mexican hot chocolate vibe—it was a hit at a grown-up Halloween party.
Mini Cookie Cakes: Instead of one large cookie cake, divide the dough into 4-6 smaller portions and bake them on separate parchment-lined sheets for 8-10 minutes. These are perfect for classroom parties or Halloween treat bags.
Serving & Storage Suggestions
This spooky easy black cat Halloween cookie cake is best served at room temperature, but here’s everything you need to know about serving and storing it.
Serving Temperature: Serve the cookie cake at room temperature for the best texture—chewy edges, soft center. If you’ve refrigerated it, let it sit out for 15-20 minutes before serving. You can also warm individual slices in the microwave for 10 seconds for that just-baked feel.
Presentation: Place the whole cookie cake on a large wooden board or a festive Halloween platter. Let the cat face be the centerpiece. Surround it with small bowls of candy corn, pretzel sticks, or other Halloween treats for a fun grazing setup. If you’re bringing it to a party, transport it on the parchment paper and slide it onto the serving board once you arrive.
Complementary Dishes: This cookie cake pairs beautifully with a cold glass of milk, a scoop of vanilla ice cream, or a warm mug of apple cider. For an adults-only twist, serve it alongside a dark stout or a bourbon-spiked hot chocolate. I also love serving it after a savory meal like creamy roasted butternut squash soup or cozy cowboy casserole with tater tots—the contrast between savory dinner and sweet dessert is perfect for fall.
Storage Instructions: Store leftover cookie cake in an airtight container at room temperature for up to 3 days. If you need to stack pieces, place a sheet of parchment paper between layers to protect the icing. For longer storage, wrap the unfrosted cookie cake tightly in plastic wrap and freeze for up to 2 months. Thaw at room temperature, then pipe on the icing fresh.
Reheating: If the cookie cake has gone a bit stale, pop a piece in the microwave for 10-15 seconds. It will soften right up. You can also reheat slices in a 300°F oven for 5 minutes, but watch closely—chocolate chips can burn.
Flavor Development: Honestly, this cookie cake tastes even better the next day. The flavors meld together, and the texture becomes even more fudgy. Just keep it covered so it doesn’t dry out.
Nutritional Information & Benefits
Let’s be real—this is a dessert, not a health food. But here’s what you should know about what’s in it.
Estimated Nutritional Values (per serving, 1/12 of cookie cake):
- Calories: 320
- Total Fat: 18g
- Saturated Fat: 11g
- Cholesterol: 65mg
- Sodium: 210mg
- Total Carbohydrates: 38g
- Dietary Fiber: 2g
- Sugars: 24g
- Protein: 4g
Health Benefits of Key Ingredients: Dark cocoa powder is rich in antioxidants called flavonoids, which can support heart health and reduce inflammation. Dark chocolate also contains iron, magnesium, and zinc. Eggs provide high-quality protein and essential vitamins like B12 and D. And hey, baking with kids has mental health benefits too—it builds confidence and creates happy memories.
Dietary Considerations: This recipe contains gluten, dairy, and eggs. For gluten-free and vegan adaptations, see the Variations section above. It’s not low-carb or keto-friendly (sorry, friends), but it is nut-free if you skip any nut-based substitutions.
Potential Allergens: Wheat, dairy, eggs. Chocolate chips may contain traces of soy and milk. Always check labels if you’re serving someone with allergies.
My Wellness Perspective: I believe in balance. This cookie cake is a celebration food—meant for Halloween parties, family traditions, and moments of pure joy. One slice isn’t going to derail anyone’s health goals. Enjoy it, savor it, and maybe pair it with a walk around the neighborhood to look at Halloween decorations. That’s the kind of wellness I can get behind.
Conclusion
This spooky easy black cat Halloween cookie cake is proof that you don’t need fancy pans or professional piping skills to create something truly memorable. It’s the recipe that saved me on a chaotic Halloween eve, and it’s been a staple ever since. The deep chocolate flavor, the chewy texture, and that adorable cat face come together to make a dessert that feels special without the stress.
I hope you make this your own. Maybe you’ll pipe on a different animal face, or add sprinkles, or turn it into a ghost instead of a cat. That’s the beauty of this recipe—it’s a canvas for your creativity. And honestly, even if the cat face comes out a little lopsided, it’ll still taste amazing. That’s the kind of baking I love: forgiving, fun, and full of chocolate.
So grab your ingredients, crank up some spooky music, and get baking. I’d love to see your creations—tag me in your photos, leave a comment below telling me how your cat face turned out, or share your own Halloween baking traditions. Let’s make this Halloween a little sweeter, one cookie cake at a time.
Frequently Asked Questions
Can I use black food coloring instead of dark cocoa powder?
You can, but I don’t recommend it. Dark cocoa powder gives you that deep black color AND rich chocolate flavor. Black food coloring can taste bitter and doesn’t add any flavor. Stick with the cocoa—you’ll be happier with the result.
Why did my cookie cake spread too much?
Most likely because the dough wasn’t chilled long enough, or your butter was too warm when you mixed it. Make sure you chill the dough for the full 30 minutes, and if your kitchen is warm, pop it in the fridge for 45 minutes instead. Also, double-check that you measured your flour correctly—too little flour can cause excess spreading.
Can I make this cookie cake ahead of time?
Absolutely. You can bake the cookie cake up to 2 days in advance, store it wrapped tightly at room temperature, and pipe the icing on the day you plan to serve it. You can also freeze the unbaked dough (shaped on the parchment) for up to 2 months—just bake straight from frozen, adding 2-3 minutes to the bake time.
How do I get clean slices without ruining the cat face?
Use a sharp, thin-bladed knife and wipe it clean between cuts. I like to cut around the cat face first, preserving the design as a centerpiece piece, then slice the rest into squares. If you want perfect edges, chill the cookie cake for 20 minutes before slicing.
Can I use this recipe to make regular cookies instead of a cookie cake?
Yes! Scoop the chilled dough into 2-tablespoon balls, place them 2 inches apart on a parchment-lined baking sheet, and bake at 350°F for 9-11 minutes. Let them cool on the pan for 5 minutes before transferring to a wire rack. You’ll get about 24 cookies. Decorate them with mini icing cat faces for an even cuter treat.
Pin This Recipe!
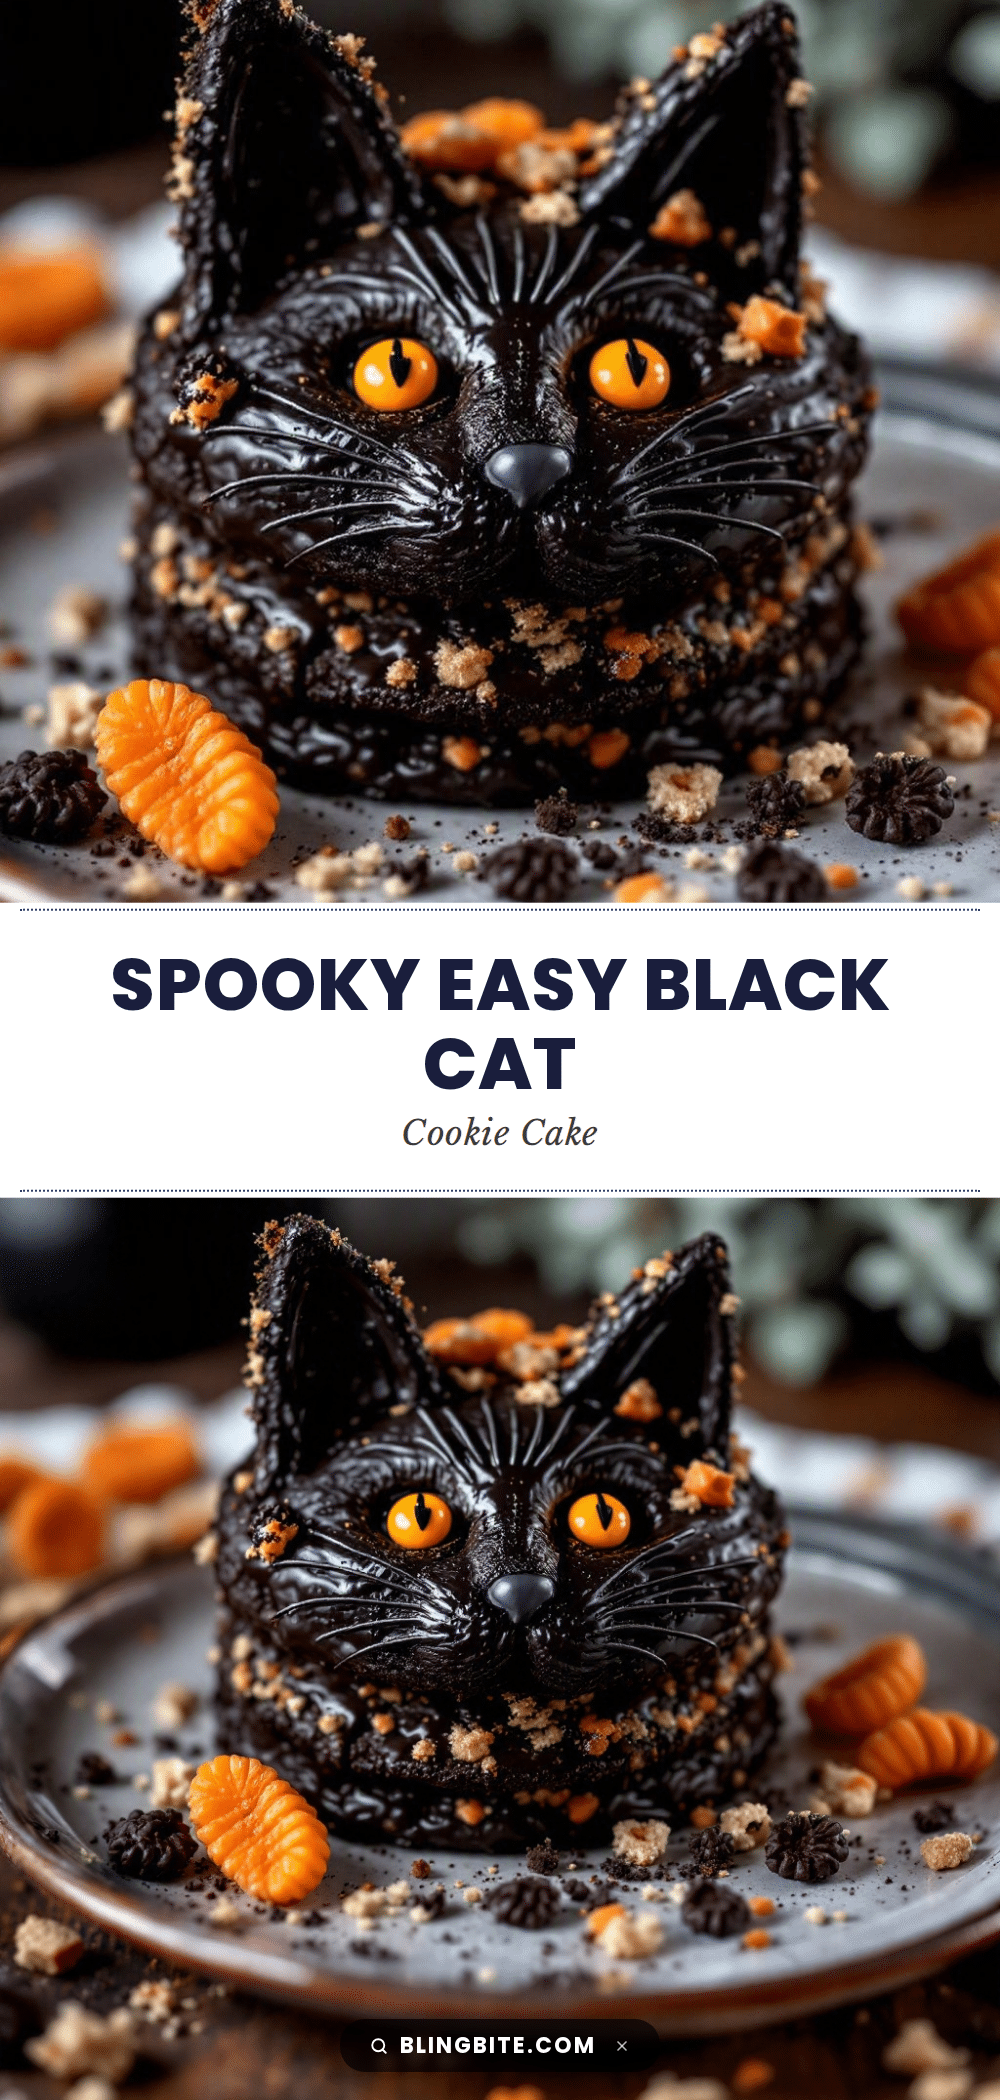
Spooky Easy Black Cat Halloween Cookie Cake
A giant, chewy chocolate chip cookie cake decorated as a black cat, perfect for Halloween parties. No special pans required, just a sheet pan and some piping confidence.
- Prep Time: 15 minutes
- Cook Time: 15 minutes
- Total Time: 1 hour 30 minutes (includes 30 minutes chilling and 30 minutes icing setting)
- Yield: 12 servings 1x
- Category: Dessert
- Cuisine: American
Ingredients
- 1 cup (2 sticks) unsalted butter, melted
- 1 cup (200g) dark brown sugar, packed
- ½ cup (100g) granulated sugar
- 2 large eggs, room temperature
- 2 teaspoons vanilla extract
- 2 cups (250g) all-purpose flour
- ½ cup (50g) dark cocoa powder
- 1 teaspoon baking soda
- ½ teaspoon salt
- 1 cup (175g) semi-sweet chocolate chips
- 1 cup (120g) powdered sugar
- 1 tablespoon meringue powder (optional)
- 2–3 tablespoons water or milk
- 2 pieces candy corn or yellow M&Ms
Instructions
- Preheat oven to 350°F (175°C). Line a sheet pan with parchment paper, leaving overhang for easy lifting.
- Melt 1 cup unsalted butter in a microwave-safe bowl in 30-second bursts. Let cool for 5 minutes.
- In a large bowl, whisk together melted butter, 1 cup dark brown sugar, and ½ cup granulated sugar until smooth and glossy.
- Whisk in eggs one at a time, then add vanilla extract. Mixture should be thick and shiny.
- In a separate bowl, whisk together 2 cups flour, ½ cup dark cocoa powder, 1 teaspoon baking soda, and ½ teaspoon salt.
- Fold dry ingredients into wet in two additions, mixing until just combined. Do not overmix.
- Fold in 1 cup semi-sweet chocolate chips. Dough will be thick and sticky.
- Cover bowl with plastic wrap and refrigerate for 30 minutes.
- Transfer chilled dough to prepared sheet pan. Using moistened hands, press into an even ¼-inch thick layer, leaving 2 inches around edges.
- Bake on middle rack for 12-15 minutes. Edges should be set and slightly cracked; center will look soft.
- Cool on pan for 10 minutes, then transfer to a wire rack to cool completely (about 45 minutes to 1 hour).
- Make icing: Whisk together 1 cup sifted powdered sugar, 1 tablespoon meringue powder (if using), and 2 tablespoons water. Add more water until thick but flows slowly. Transfer to a piping bag or ziplock bag with a tiny corner snipped off.
- Pipe cat face on cooled cookie cake: two triangular ears, two oval eyes (place candy corn or M&Ms into wet icing), a small nose, a ‘w’ mouth, and three whiskers on each side.
- Let icing set for at least 30 minutes before slicing.
- Slice and serve using a sharp knife, cutting around the cat face first to preserve the design.
Notes
Don’t skip chilling the dough—it prevents excessive spreading. Use a light hand when measuring cocoa and flour (spoon and level). If icing lines are shaky, smooth with a toothpick while wet. Cookie cake tastes even better the next day.
Nutrition
- Serving Size: 1 slice (1/12 of coo
- Calories: 320
- Sugar: 24
- Sodium: 210
- Fat: 18
- Saturated Fat: 11
- Carbohydrates: 38
- Fiber: 2
- Protein: 4
Keywords: Halloween cookie cake, black cat cookie cake, chocolate cookie cake, easy Halloween dessert, spooky cookie cake


