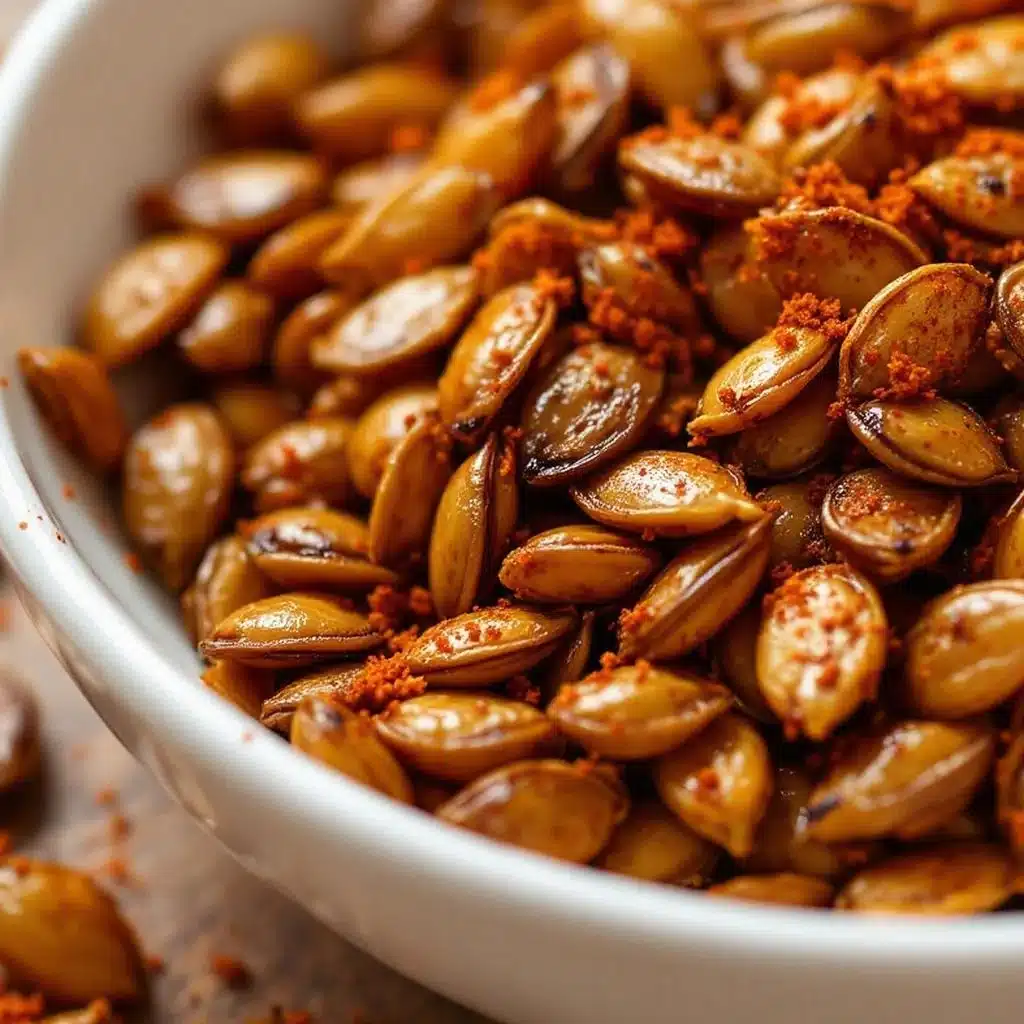
The bowl sat on the coffee table, untouched for maybe ten minutes. Then my brother-in-law reached over, grabbed a handful, and didn’t stop eating until the bowl was empty. “Wait, these are the seeds from the pumpkin we carved?” he asked, mouth half-full. That moment—when something you almost threw away becomes the thing everyone fights over—is exactly why I keep coming back to this recipe for crispy smoky roasted pumpkin seeds.
I used to be a rinse-and-roast person. You know the type—just toss them with salt and hope for the best. They’d come out chewy, or burnt on the edges, or somehow both at once. Honestly, they were fine. But fine isn’t what I’m after when I’m standing over a cutting board at 11 p.m. after a long week.
This version changed everything for me. It started as an accident, actually. I had leftover smoked paprika from a batch of crispy loaded nachos I’d made the weekend before, and I figured—why not? That first batch disappeared so fast I made another one the next day. Now I triple the recipe every time pumpkin season rolls around.
The thing about these seeds is they’re not just a fall snack anymore. They’ve become my go-to for everything—soup toppers, salad crunch, even a sneaky handful at 3 p.m. when lunch feels like a distant memory. And honestly? They’re dead simple to make once you know the trick.
Why You’ll Love This Recipe
Let me tell you why these crispy smoky roasted pumpkin seeds have earned a permanent spot in my kitchen rotation. I’ve tested this recipe at least a dozen times—sometimes on purpose, sometimes because I zoned out and forgot the timer. Each failure taught me something, and this version is the one that finally stuck.
- Crispy, Not Chewy : The biggest complaint about homemade pumpkin seeds is the texture. Most recipes skip the boiling step, which leaves the seeds soft in the middle. This method guarantees crunch from the first bite to the last.
- Smoky Without Being Overpowering : Smoked paprika is the star here, but it doesn’t bully the other flavors. It just hangs out in the background, adding warmth and depth that makes you reach for another handful.
- Simple Pantry Ingredients : You probably have everything already. Salt, oil, smoked paprika, garlic powder. That’s it. No fancy trips to a specialty store.
- Perfect for Meal Prep : These keep for weeks in an airtight container. I make a big batch after pumpkin carving and snack on them for the rest of the month.
- Endlessly Adaptable : Spicy, sweet, herby—you can change the seasoning based on your mood. I’ll share my favorite variations later.
What sets this recipe apart from the dozens you’ll find online is the boiling step. I know, I know—it sounds extra. But boiling the seeds before roasting breaks down the outer layer just enough to let the inside get crispy instead of staying chewy. It’s the difference between okay seeds and seeds people text you about the next day.
What Ingredients You Will Need
This recipe uses simple, everyday ingredients to create something that tastes way more complex than it should. Here’s what you’ll need and why each one matters.
For the Seeds:
- Fresh pumpkin seeds (from one medium pumpkin, about 1 ½ cups) — Scooped straight from the pumpkin, with most of the stringy pulp removed. Don’t worry about getting every last bit; the boiling step will handle the rest.
- Water (4 cups for boiling) — Just tap water is fine. You’re not making soup here.
- Salt (1 tablespoon for the boiling water, plus more for finishing) — The salt in the boiling water seasons the seeds from the inside out. I use fine sea salt for this, but kosher works too.
For the Seasoning:
- Olive oil or avocado oil (1 ½ tablespoons) — You need a neutral oil with a decent smoke point. Olive oil works great, but avocado oil is my preference because it handles high heat better. (I’ve tested both, and honestly, the difference is subtle—use what you have.)
- Smoked paprika (1 teaspoon) — This is non-negotiable for the smoky flavor. I prefer sweet smoked paprika over hot for this recipe, but either works. Brands like Simply Organic or The Spice House have excellent smoked paprika.
- Garlic powder (½ teaspoon) — Adds savory depth without the burn of fresh garlic. Make sure it’s powder, not garlic salt, or you’ll over-salt the seeds.
- Onion powder (½ teaspoon) — Optional but recommended. It rounds out the smoky flavor in a way that’s hard to describe but easy to taste.
- Freshly ground black pepper (¼ teaspoon) — Adds a tiny bit of heat and complexity.
Substitution Notes:
If you’re out of smoked paprika, regular paprika plus a drop of liquid smoke works in a pinch. For a spicy version, swap the smoked paprika for chipotle powder and add a pinch of cayenne. And if you’re avoiding oil, you can use a light coating of aquafaba (the liquid from canned chickpeas)—the texture will be slightly different, but still crispy.
One thing I’ve learned the hard way: don’t skip the salt in the boiling water. I tried it once thinking I’d just season them after roasting, and the seeds came out bland on the inside. The boiling step is where the flavor really sinks in.
Equipment Needed
You don’t need much for this recipe. Here’s what I use:
- Large pot (for boiling the seeds) — Any 3- to 4-quart pot works. Nothing fancy.
- Colander or fine-mesh strainer — For draining the seeds after boiling.
- Clean kitchen towel or paper towels — For drying the seeds thoroughly. This step matters more than you think.
- Baking sheet (rimmed) — A standard half-sheet pan is perfect. Line it with parchment paper for easier cleanup.
- Mixing bowl — For tossing the seeds with oil and seasonings.
- Spatula or spoon — For stirring the seeds halfway through roasting.
If you don’t have parchment paper, aluminum foil works. Just give it a light spray of oil so the seeds don’t stick. And if you’re using a dark non-stick baking sheet, reduce the oven temperature by 25°F—dark pans absorb more heat and can burn the seeds faster.
Preparation Method
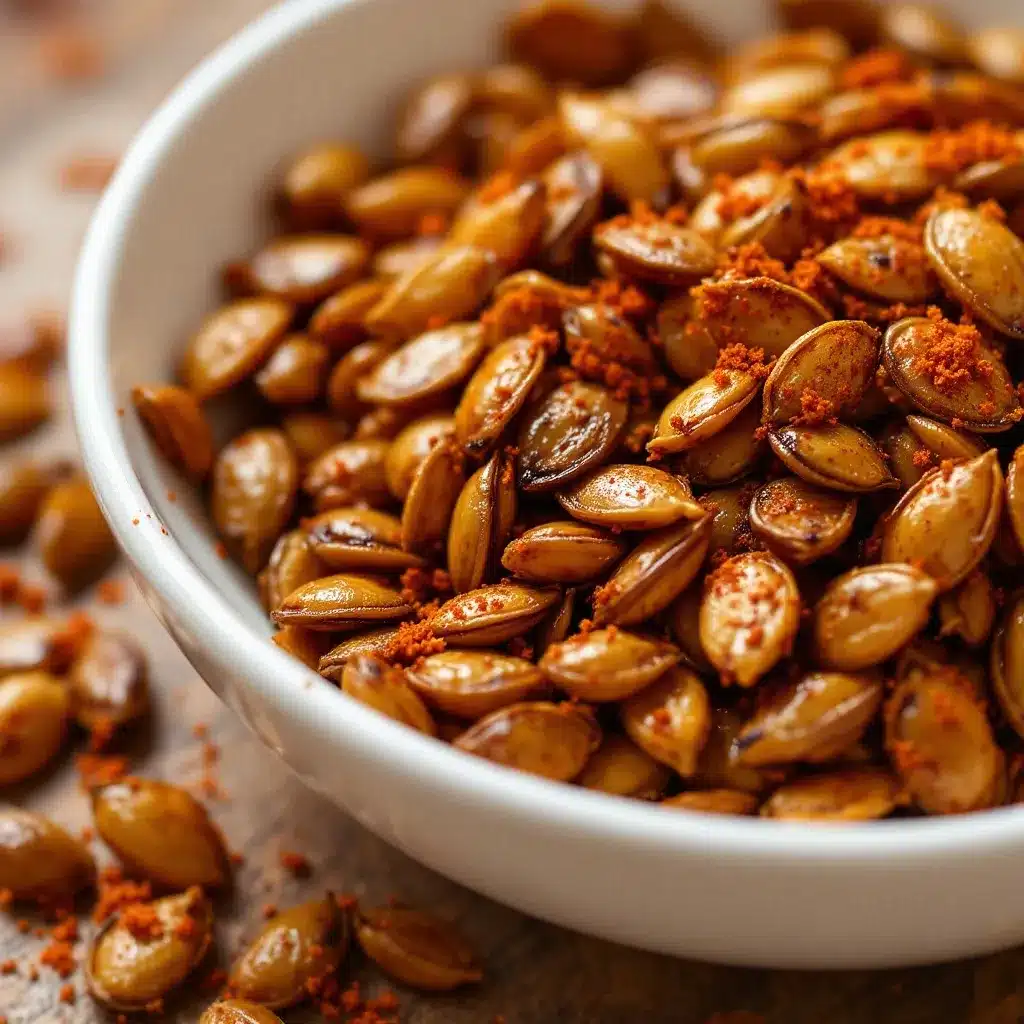
Alright, let’s get into the actual process. This might look like a lot of steps, but most of it is hands-off time. The active work is maybe 15 minutes total.
- Preheat your oven to 350°F (175°C). Give it a full 15 minutes to come to temperature. An uneven oven is the enemy of crispy seeds.
- Separate the seeds from the pumpkin pulp. Place the seeds and pulp in a large bowl of cool water. Use your fingers to gently separate the seeds—most of the pulp will float to the top or sink to the bottom. Scoop out the seeds and place them in a colander. Don’t stress about getting every bit of pulp off; the boiling step will loosen the rest.
- Rinse the seeds thoroughly under cold running water. Pick out any remaining large pieces of pulp. You should have about 1 ½ cups of seeds at this point.
- Boil the seeds. Bring 4 cups of water and 1 tablespoon of salt to a rolling boil in your pot. Add the seeds and boil for exactly 10 minutes. Set a timer—this isn’t a “close enough” step. The boiling softens the outer seed coat so the inside dries out evenly during roasting.
- Drain the seeds in your colander and spread them out on a clean kitchen towel. Pat them very dry with another towel or paper towels. This is the most important step. If the seeds are still wet when they go into the oven, they’ll steam instead of roast, and you’ll end up with chewy seeds. I usually let them sit on the towel for 5-10 minutes to air-dry a bit more.
- Toss with oil and seasonings. In your mixing bowl, combine the dried seeds with olive oil, smoked paprika, garlic powder, onion powder, and black pepper. Stir until every seed is coated. The mixture should look evenly reddish-orange from the paprika.
- Spread on the baking sheet in a single layer. Don’t overcrowd—if the seeds overlap, they’ll steam. If you have more seeds than fit in one layer, use two baking sheets.
- Roast for 20-25 minutes, stirring halfway through. At the 10-minute mark, pull the pan out and give the seeds a good stir with your spatula. This ensures even browning. Watch them closely during the last 5 minutes—they go from golden to burnt fast.
- Check for doneness. The seeds should be deep golden brown and smell intensely toasty. Let one cool for 30 seconds before tasting—they’ll crisp up more as they cool.
- Cool completely on the baking sheet. Don’t transfer them to a bowl while they’re still warm, or the steam will soften the crunch. Give them at least 30 minutes. I know it’s hard to wait, but trust me.
Sensory cues to watch for: When the seeds are done, they should make a light clicking sound when you stir them on the pan. The kitchen will smell like a campfire crossed with a spice cabinet. If the seeds look dry but not dark yet, give them another 3-4 minutes.
Cooking Tips & Techniques
I’ve made every mistake in the book with pumpkin seeds. Here’s what I’ve learned so you don’t have to repeat my failures.
Don’t skip the boil. I know it’s tempting to save time, but boiling is the difference between crispy and chewy. The first time I made these, I skipped it because I was impatient. The seeds came out edible but disappointing—like eating toasted cardboard. Never again.
Dry them like your life depends on it. Wet seeds = steamed seeds. I pat mine dry with a towel, then let them sit on the counter for 10 minutes while I clean up. Any moisture left on the surface will turn into steam in the oven, and steam is the enemy of crunch.
Watch the oven like a hawk at the end. Pumpkin seeds go from perfectly golden to burnt in about 90 seconds. I set my timer for 18 minutes, check, then add time in 2-minute increments. The smell is your best cue—when the kitchen starts to smell like toasted nuts, start checking.
Season while warm, not hot. If you add extra salt or spices while the seeds are straight out of the oven, the oil will dissolve them unevenly. Let them cool for 5 minutes, then toss with any finishing seasonings.
Batch size matters. If you’re making more than 2 cups of seeds, use two baking sheets. Overcrowding traps steam and turns your crispy seeds into sad, limp versions of themselves. I learned this the hard way when I tried to cram 3 cups onto one sheet for a party. The edges burned, the middle stayed soft, and I had to start over.
Variations & Adaptations
Once you’ve mastered the basic crispy smoky roasted pumpkin seeds, the fun really begins. Here are a few variations I’ve tested and loved.
Spicy Chili Lime: Add 1 teaspoon chili powder, ½ teaspoon cayenne, and the zest of one lime to the seasoning mix. Skip the smoked paprika or reduce it to ½ teaspoon. The lime zest adds a brightness that cuts through the heat perfectly. I made these for a game day spread with crispy chicken wings, and they disappeared before the wings did.
Sweet Cinnamon Sugar: For a dessert-style snack, swap the smoked paprika for 1 teaspoon cinnamon, ½ teaspoon nutmeg, and 2 tablespoons brown sugar. Reduce the salt to just the boiling water. These are amazing on top of yogurt or ice cream, or just eaten by the handful when you’re craving something sweet but not too heavy.
Everything Bagel: After tossing with oil, sprinkle with 1 tablespoon of everything bagel seasoning (poppy seeds, sesame seeds, garlic flakes, onion flakes, and salt). Roast as directed. These are incredible on salads or soups—I’ve been putting them on creamy roasted butternut squash soup all season.
Garlic Parmesan: Add 2 tablespoons finely grated Parmesan cheese and 1 extra teaspoon garlic powder to the seasoning mix. Toss the seeds with the Parmesan after roasting (not before, or it will burn). The cheese melts into little crispy bits that are honestly the best part.
Maple Chipotle: Whisk 1 tablespoon maple syrup with 1 teaspoon chipotle powder and ½ teaspoon smoked paprika. Toss with the seeds after the oil. The maple caramelizes in the oven and creates a sweet-spicy glaze. Just keep an eye on them—the sugar can burn fast.
Serving & Storage Suggestions
These seeds are incredibly versatile. Here’s how I serve and store them.
Serving temperature: Room temperature is best. The crunch really shines when they’re not straight out of the oven or fridge. If you’ve stored them, let them sit on the counter for 10 minutes before serving.
Ways to use them:
- As a snack straight from the bowl (the most common fate in my house)
- Sprinkled over soups for crunch—especially butternut squash, tomato, or black bean soup
- On top of salads instead of croutons
- Mixed into homemade granola or trail mix
- As a garnish for roasted vegetables or grain bowls
- Blended into pesto for a smoky twist
Storage: Once completely cool, transfer the seeds to an airtight container. Mason jars work great, or any container with a tight-fitting lid. They’ll stay crispy for up to 3 weeks at room temperature. Don’t refrigerate them—the humidity will soften the crunch.
Re-crisping: If they do lose their crunch (which happens if your container isn’t fully sealed), spread them on a baking sheet and pop them in a 300°F oven for 5 minutes. Let them cool completely before storing again.
Freezer option: You can freeze roasted pumpkin seeds for up to 3 months. Place them in a freezer-safe bag, squeeze out as much air as possible, and seal. Thaw at room temperature for 30 minutes before serving. They might lose a tiny bit of crunch, but they’re still delicious.
Flavor development: Honestly, these seeds taste best on day two. The flavors have time to meld and mellow out. If you can resist eating them all the first day, you’ll be rewarded.
Nutritional Information & Benefits
Pumpkin seeds are one of those foods that feel indulgent but are actually good for you. Here’s the breakdown per ¼-cup serving (about 30 grams):
- Calories: 150-170
- Protein: 8-9 grams
- Fat: 13-15 grams (mostly healthy unsaturated fats)
- Carbohydrates: 4-5 grams
- Fiber: 2-3 grams
- Iron: 15% of the daily value
- Magnesium: 40% of the daily value
- Zinc: 20% of the daily value
Health benefits: Pumpkin seeds are packed with magnesium, which supports muscle function and sleep quality. The zinc content is great for immune health, and the healthy fats help keep you full between meals. They’re also naturally gluten-free and low in sugar, making them a smart snack for most dietary patterns.
Dietary considerations: This recipe is naturally gluten-free, dairy-free, and vegan. If you’re watching sodium, reduce the salt in the boiling water to ½ tablespoon and skip the finishing salt. For a lower-fat version, you can reduce the oil to 1 tablespoon—the seeds will be slightly less crispy but still good.
Allergen note: Pumpkin seeds are not a common allergen, but they are seeds. If you have a seed allergy, obviously skip this one. The recipe is free of the top eight allergens (milk, eggs, fish, shellfish, tree nuts, peanuts, wheat, and soy).
Conclusion
These crispy smoky roasted pumpkin seeds have become a fall tradition in my kitchen, but honestly? I make them year-round now. There’s something deeply satisfying about turning a part of the pumpkin that most people throw away into the snack everyone fights over.
The beauty of this recipe is how forgiving it is once you understand the basic method. Boil, dry, season, roast. That’s it. From there, you can take it in any direction—spicy, sweet, savory, herby. The smoky paprika version is my personal favorite, but I hope you’ll make it your own.
I’d love to hear how yours turn out. Did you try a variation I haven’t thought of? Did you burn the first batch and learn something? (I’ve been there.) Drop a comment below and let me know—your experiments might inspire someone else’s next great snack.
Now go carve that pumpkin and save those seeds. Trust me, you’ll thank yourself later.
Frequently Asked Questions
Can I use seeds from any type of pumpkin?
Yes! Any pumpkin variety works—sugar pumpkins, carving pumpkins, even butternut squash seeds. The size might vary slightly, so adjust roasting time by a minute or two if the seeds are very small or very large.
Do I have to boil the seeds first?
I strongly recommend it. Boiling softens the outer seed coat, which allows the inside to dry out evenly during roasting. Without this step, the seeds tend to stay chewy in the middle. If you’re in a major rush, you can skip it, but the texture won’t be the same.
How do I know when the seeds are fully roasted?
Look for a deep golden-brown color and a toasted, nutty smell. Let one seed cool for 30 seconds before tasting—they’ll crisp up more as they cool. If they still seem soft, give them 2-3 more minutes and check again.
Can I make these in an air fryer?
Absolutely. Air fry at 325°F for 12-15 minutes, shaking the basket halfway through. Keep a close eye on them since air fryers cook faster than ovens. The texture comes out even crispier, in my experience.
How long do these stay fresh?
Stored in an airtight container at room temperature, they stay crispy for up to 3 weeks. If they lose their crunch, spread them on a baking sheet and re-crisp in a 300°F oven for 5 minutes. Let them cool completely before storing again.
Pin This Recipe!
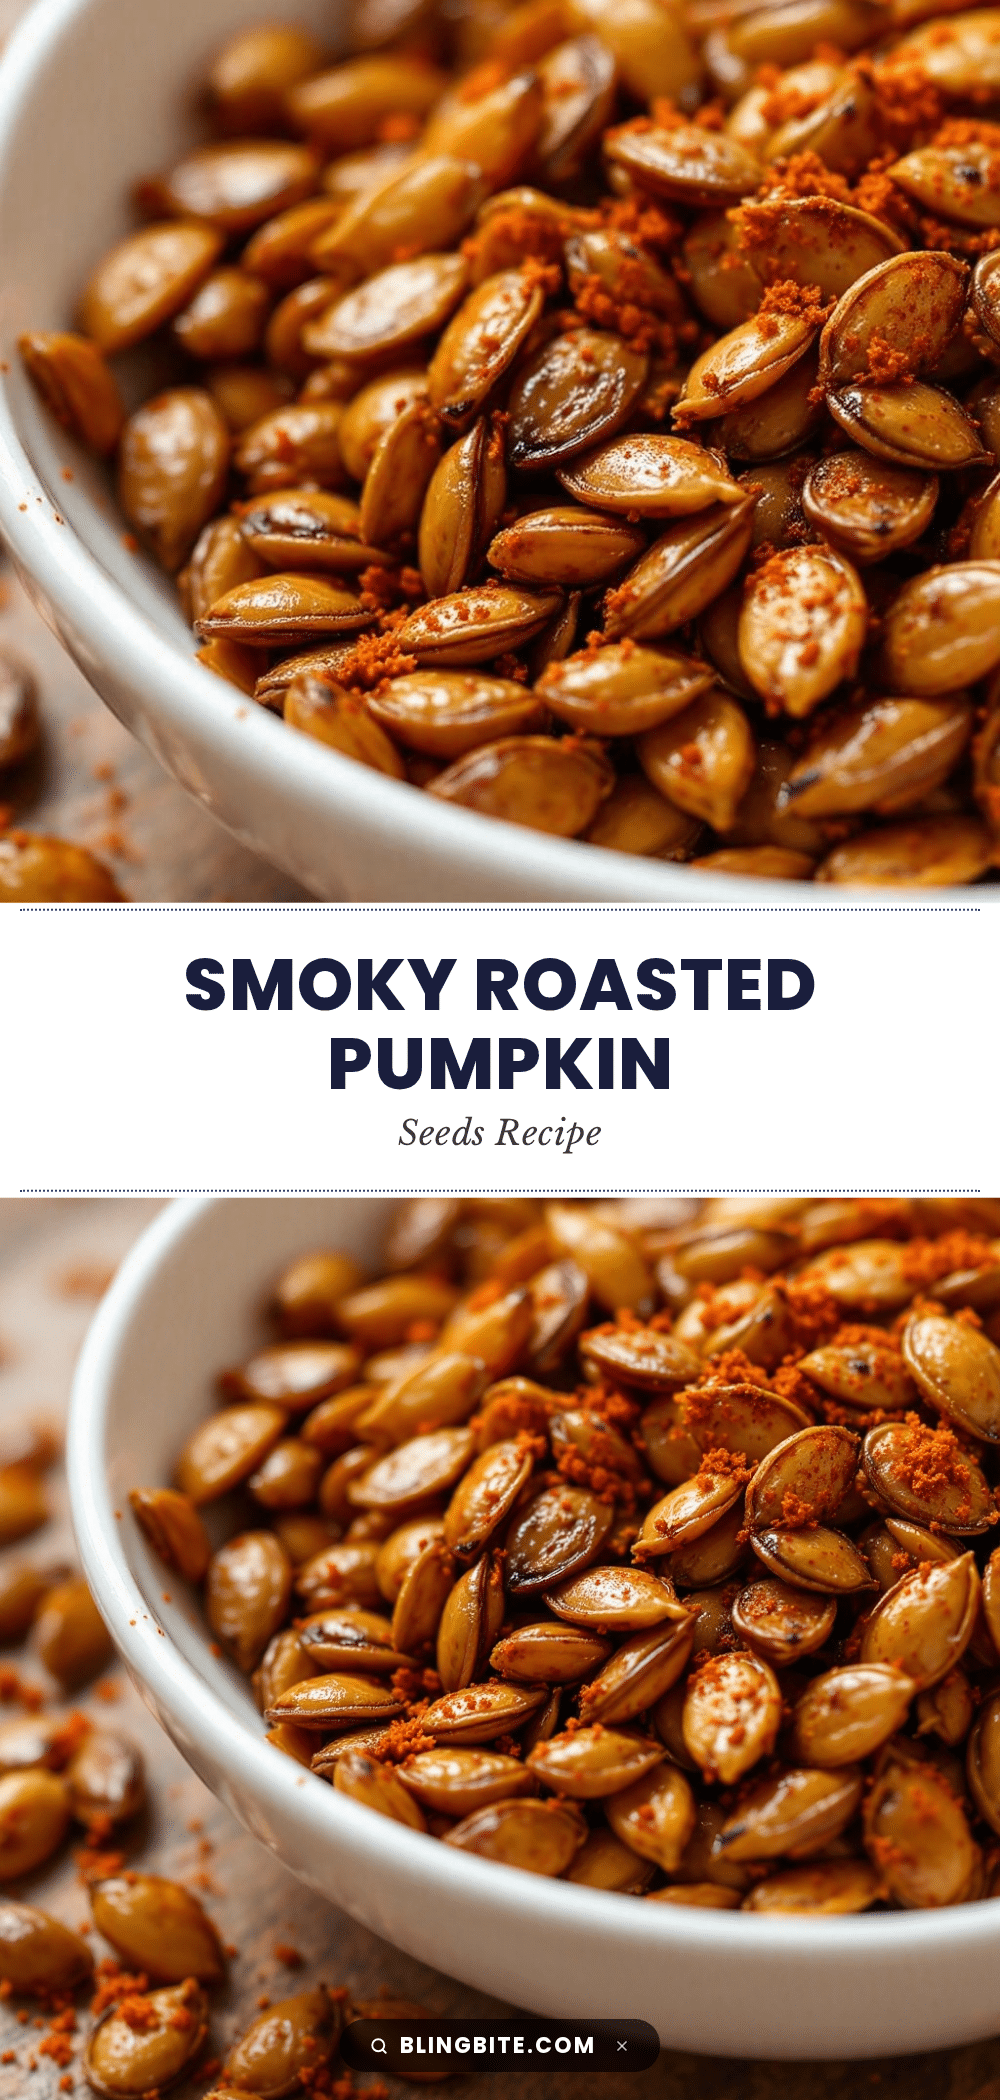
The Best Crispy Smoky Roasted Pumpkin Seeds
Transform pumpkin carving leftovers into an irresistible crispy, smoky snack. Boiling the seeds before roasting ensures a perfectly crunchy texture, while smoked paprika adds warmth and depth.
- Prep Time: 15 minutes
- Cook Time: 25 minutes
- Total Time: 40 minutes
- Yield: 4 servings 1x
- Category: Snack
- Cuisine: American
Ingredients
- 1 ½ cups fresh pumpkin seeds (from one medium pumpkin)
- 4 cups water
- 1 tablespoon salt (for boiling water, plus more for finishing)
- 1 ½ tablespoons olive oil or avocado oil
- 1 teaspoon smoked paprika
- ½ teaspoon garlic powder
- ½ teaspoon onion powder (optional)
- ¼ teaspoon freshly ground black pepper
Instructions
- Preheat oven to 350°F (175°C).
- Separate seeds from pumpkin pulp in a bowl of cool water. Scoop seeds into a colander.
- Rinse seeds thoroughly under cold water, removing any remaining pulp.
- Bring 4 cups water and 1 tablespoon salt to a boil. Add seeds and boil for exactly 10 minutes.
- Drain seeds and spread on a clean kitchen towel. Pat very dry with another towel or paper towels. Let air-dry for 5-10 minutes.
- In a mixing bowl, combine dried seeds with olive oil, smoked paprika, garlic powder, onion powder, and black pepper. Stir until evenly coated.
- Spread seeds in a single layer on a rimmed baking sheet lined with parchment paper.
- Roast for 20-25 minutes, stirring halfway through. Watch closely during the last 5 minutes.
- Check for doneness: seeds should be deep golden brown and smell toasty. Let one cool for 30 seconds before tasting.
- Cool completely on the baking sheet (at least 30 minutes) before serving or storing.
Notes
Boiling the seeds is essential for a crispy texture. Dry seeds thoroughly before roasting to avoid steaming. Watch closely at the end of roasting as seeds can burn quickly. For best flavor, let seeds cool completely before serving. Store in an airtight container at room temperature for up to 3 weeks.
Nutrition
- Serving Size: ¼ cup (about 30 gram
- Calories: 160
- Sodium: 200
- Fat: 14
- Saturated Fat: 2
- Carbohydrates: 5
- Fiber: 2
- Protein: 8
Keywords: pumpkin seeds, roasted pumpkin seeds, smoky pumpkin seeds, crispy pumpkin seeds, fall snack, healthy snack, gluten-free snack, vegan snack


